A few weeks ago, I guest posted for Jen at Tatertots and Jello. I showed how to make this project, and I thought you might want to see it too. You know, ‘cause so many of you read my blog that don’t read Jen’s. Joking aside, I thought you might enjoy.
For those of you who don’t know me, you should know that I don’t like to spend money. That doesn’t mean I don’t spend money. I just don’t like to. So…when I was looking for some artwork for my bedroom, I decided to look for something free.
I grabbed some paint swatches at Home Depot (props to HD for offering free swatches!) and used a hole punch to make a bunch of circles.
Punch, punch, and then punch some more. It only took a few minutes, but my frame was pretty small. If you want something large scale, (get it? scale?) it may take you a minute.
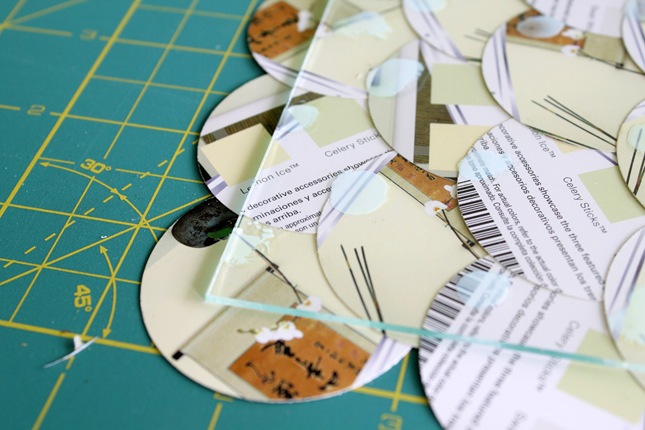
Because I’m cheap (didn’t want to buy anything to put it on) and because I’m lazy (didn’t want to find something to cut to size, I adhered the circles straight to the glass that came in the frame. Plus, this allowed me to use the lines of my cutting mat to make sure everything stayed straight.
I had to look on the internet to make sure I knew what fish scales look like, and I just started gluing away. A little dab of craft glue at the top of each circle is all it took. Using the craft glue (as opposed to hot glue) gave me some time to move things around if they weren’t lining up well.
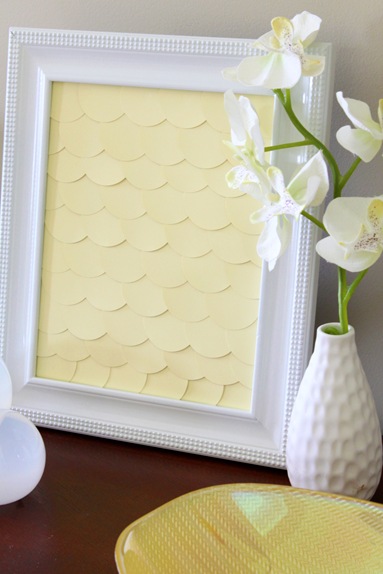
This is what it will look like when you’re done.
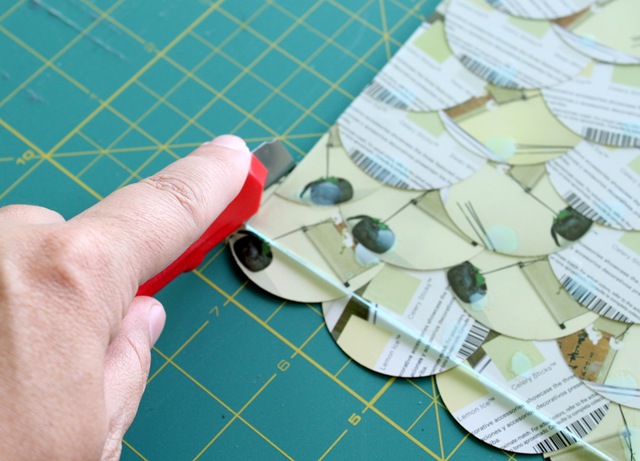
I let the glue dry for a little bit, and I turned the glass over.
Then I ran a blade down the edge of the glass to give a clean line. This way it would fit nicely into the frame.
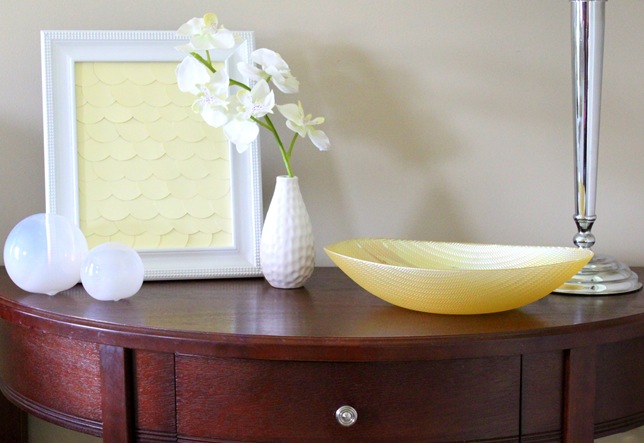
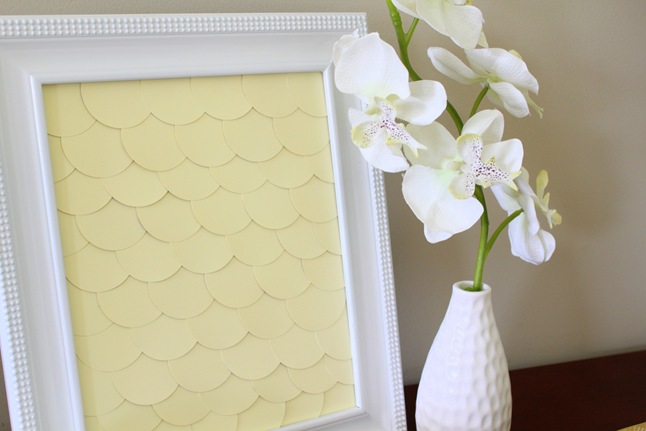
Ta Da! I am so happy with the simplicity of it. It’s a fresh and free way to decorate, and I love that it offers some texture to the space.
When my husband was checking it out, I said, “Did you notice that I used a frame that has circles on it to match the circle design in the art?” He responded, “Circles?” Nice.
I’m not too worried, though. I’m sure you notice it. 🙂
I’ll be back tomorrow with some spectacular highlights of SaS Day!




Very cool!!!!
Super love! You are so creative! I can’t wait to try this 🙂
Thank you, Chelsy! You’re so nice!
This is a cool idea, and practically free is even better!
Simple easy and totally cool!! (I have that same little Martha Stewart table too btw!)
Such a cute table, right Laurie? Love it. Thanks for stopping by!
Ive seen this on pinterest! I didn’t know it was yours, it’s so pretty!! Thanks for sharing!!
You clever girl! I love it…my daughter entertains herself with paint chips when we’re at HD (every week)…I need to do something with all those she’s confiscated.
So does mine! She pretends she works there and matches them up to things around the store to help people “design their space.” 🙂
Cute idea… who wouda thought?!
This was a really nifty idea! Like the texture / color concept.
I’m a texture girl, Regina. So true. Thank you!
hehehe no I didnt notice the circle frame 🙂
Nice idea and it will look good for fabric too and we can sew a pillow 😉
I like the way you think!
So, I wanted something for my kids’ bathroom. How clever is this! AND they can help me cut the holes.
Thanks! you’re so cool. 🙂
So clever to use paint chips! You’ve got the wheels in my brain turning – which can be kinda scary 😉
Saw this at Jen’s. Love seeing it again. The color and texture are amazing. Great project!
Now, why didn’t I trout of this? It is a halibut of an idea. Ok, I’ll stop, I am totally floundering here. HAHAHAHAHAA!! I would have to put a little black and white photo in there, like one of those long 4 shot photo booth ones.
(Yes, I know I’m a dork)
I LOVE THIS! I want to do one that resembles http://northsouth.com.p4.hostingprod.com/yahoo_site_admin/assets/images/RainbowFishCvr.309101304_std.jpg…The Rainbow Fish…I loved this book when I was a child
OMG!! This is really pretty. Did you say it cost nothing? I am going to nominate you for an academy award of cool ideas. I love….this. My birthday is coming up, hint hint. Loved Kristen’s fish comments. Too cleaver and funny. Your tutorial was excellent also. Go figure, swatches from HD! Enjoyed the post as always. Love you! Mom
Adorable artwork—-love the convo w/ your husband….I can TOTALLY identify! 🙂 🙂
I love this idea. I hate to spend money on stuff that can be done at home and ideas like these make my day 🙂 Thanks for sharing. Pinning it!
so fresh and pretty!
Great idea and it turned out great! I bet if you flipped that upside-dow you could slip some pictures or notes behind the scales and use it as a classy bulletin board.