Happy Monday to you! We’ve been busy with projects galore over here, so it’s probably time I show you one of them. I had a mirror over the mantel that I bought from Lowes. When I say I’ve searched everywhere for the right size mirror, trust me. I. searched. everywhere. We have 8-foot ceilings, and I opted for a really tall mantel–meaning I needed the width, but not so much the height. I digress. I found one that was cloooose to being what I wanted.
Nice clean lines, good (enough) size, dark wood for contrast…….and then I didn’t like it. As soon as it was on the wall. What’s a wife to do when she forces her husband to hang it for her while the Tigers are playing? She stays silent ’cause she knows it’s right for her marriage. And then slooooowly over time–in this case, a few weeks–I told him I had other plans.
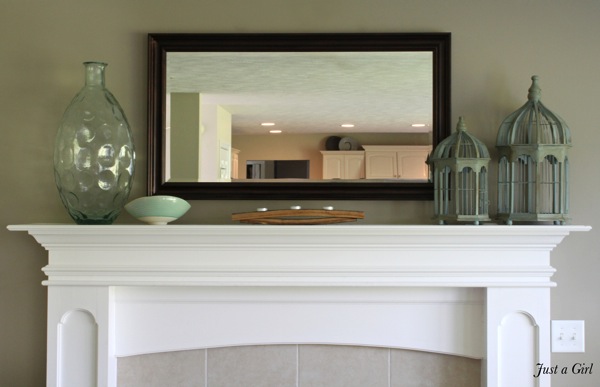
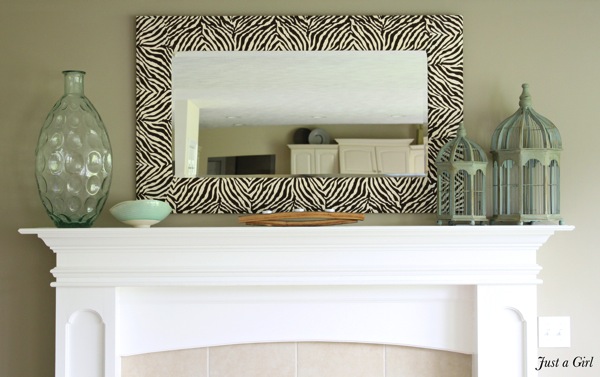
There were only two things he didn’t like about this project. The word zebra and the word build. Other than that, he was totally up for it! The size of the actual mirror was perfect, but the size of the frame just wasn’t working for the space. And this is where I got stumped. Do I jig saw a cut out of MDF? Do I trim it out? And if so, how do I get the mirror to stay?
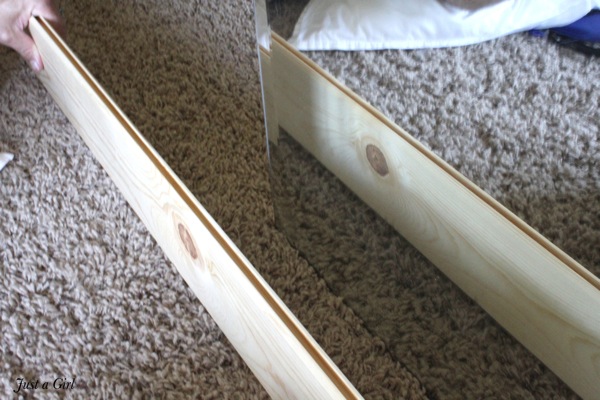
So I went to Lowes (shocker) and looked at my options. Low and behold, I found some tongue and groove pine, and I thought this just might work. I could miter the corners, and the mirror would sit right into the ledges! I felt so brilliant about myself, I stopped and got an ice cream. As if I needed an excuse.
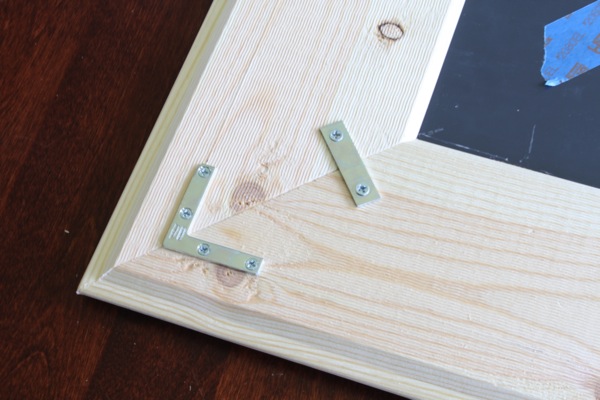
I’ll be honest. It wasn’t as brilliant as I planned, but with a little bit of rigging, it now works. We (he–I don’t miter. I’m a miter failure) mitered the corners, and we secured them with some brackets. It wasn’t an issue if the corners weren’t exactly perfect, because I knew I’d be covering it with fabric anyway.
Then I covered the frame with spray adhesive and shaped the fabric all around the frame. I did it in four sections, so I could mimic the miter in the corners.
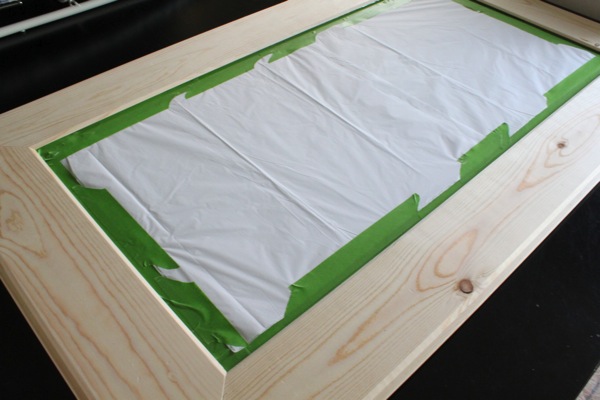
I made sure to fold them in at an angle and press with a warm iron. It worked out perfectly.
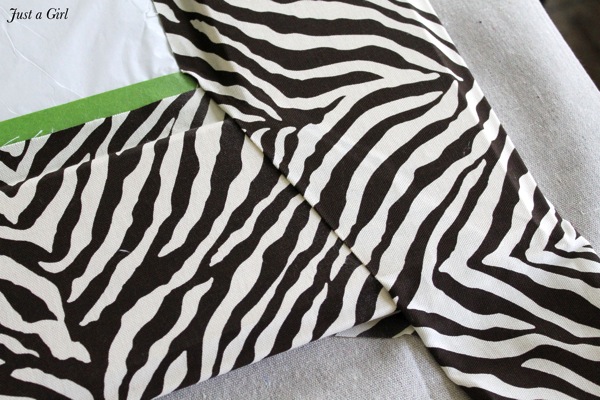
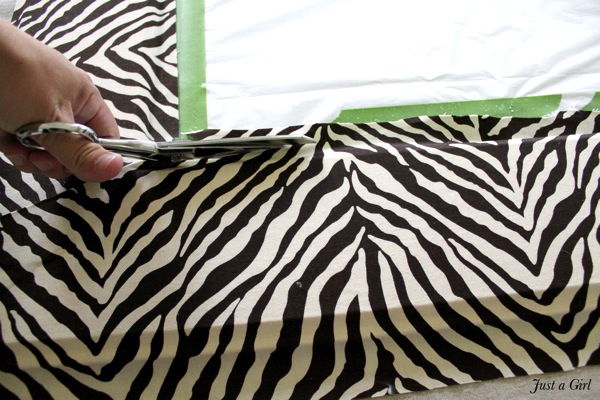
I trimmed off the excess, and tucked the fabric into the frame with a spatula. It’s a complex tool; I wouldn’t recommend it for amateurs.
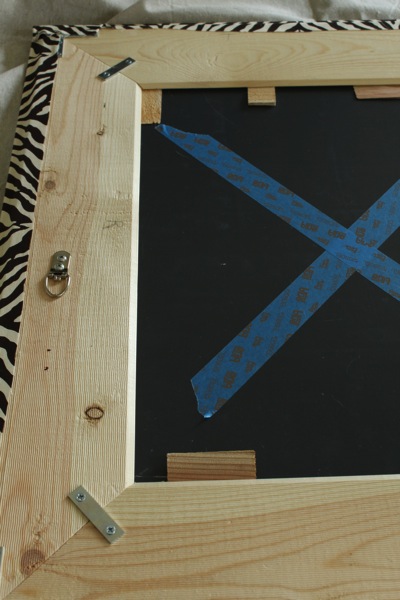
The only real problem we ran into was that the groove on the planks was wider than the mirror, so the mirror wouldn’t press up against the front well. I solved that by placing some random shims behind the mirror to keep it more secure. Hubs attached some hangers to it, and it was good. to. go.
We have a pretty soft color palette in the living room, so this is exactly the pizazz (jazz hands!) that it needed. I’m in LOVE, hubs feels cool “Did you post about the mirror yet?”, and all is right with the world of mantels. The world of mitering, however, is still in shambles.
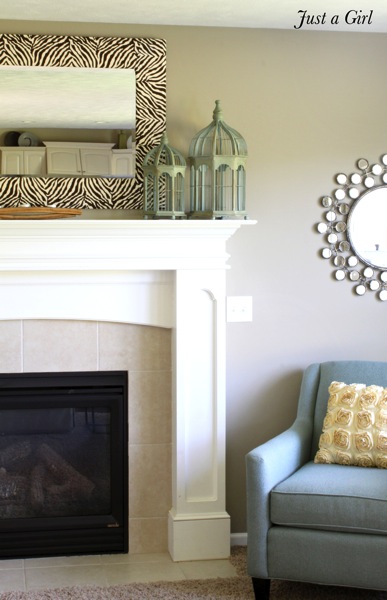


Great transformation! I have a mirror in my basement that I picked up from someone’s trash that your technique just might be the perfect fix.
Today is day one for my students. I can’t believe it is back to school time! (Whine or do I mean wine?)
I really, really love this. I saw your sneak peek on IG and thought you’d painted it! Like, by hand. Am loving that it’s fabric. I’ll have to check out this spatula tool 🙂
Nothing really gets me to do jazz hands like zebra print … and smart marriage decisions. 🙂 It came out great!!
That turned out really nice. I’ts as good, as if you paid a fortune for a custom made mirror. You are good girl. Your zebra lines (around the corners ) match too, and a spatula? You could start DIY design tools to display at Haven next year.Tell Doug “Hubs” he did a great job. Love it! Mom
Love the zebra mirror. It looks great. Isn’t it amazing how kitchen devices make such fabulous tools. All chippies should carry a spatula in their tool belt. It could change the world of construction overnight!
You were absolutely right about the mirror before – too narrow a frame. But now! Wow, it came out great and looks awesome. Thanks for the how-to.
Fabric!! Your genius never ceases to amaze me, even after all these years. It looks AMAZING!!
Gorgeous!
Very cool idea. Looks great.