If you’ll remember, I redid my son’s tween bedroom last year. I loved it, and Better Homes and Gardens was all, “We love it too!” However, my dirty little secret is that I never quite finished it. His dresser was left in its golden-honey state, and we just pretended it wasn’t there. I knew exactly what I wanted to do to it, but I never wanted to actually do it. Make sense? So here’s a little before for ya.
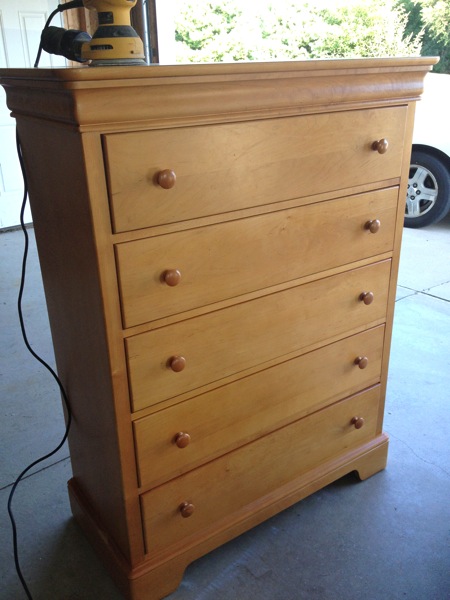
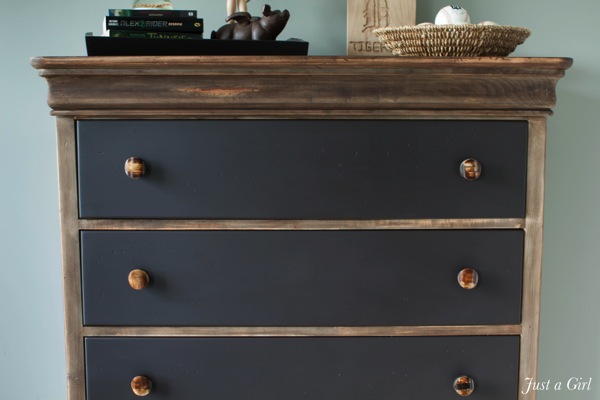
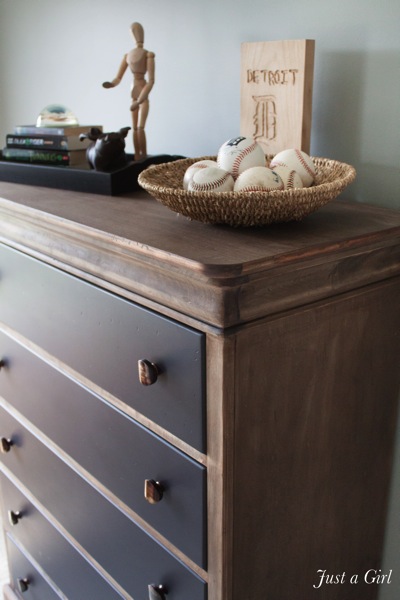
And the ga-gorgeous after!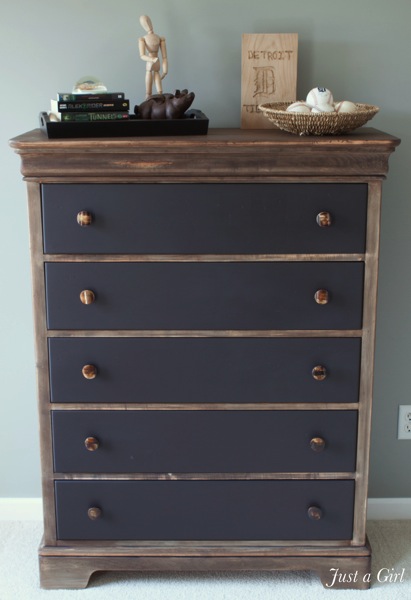
I partnered up with 3MDIY.comas one of their experts to show how I did this project. I’m a big proponent of “safety first”, so using their gear is something that comes natural to me. Fumes, dust particles, and noise can really take its toll if you’re not protected.

I think sanding is one of the messiest DIY jobs, so I went in fully prepared! Two things you might notice about this picture. 1. Apparently, my thumb is double-jointed. I did not know this, but it was quickly pointed out to me by my friend Cassie. 2. I’m smiling. Behind a mask.

Step 1: S-A-N-D for what feels like years. I used the following materials:
3M Tekk Protection Work Tunes Hearing Protectors
3M Tekk Protection Holmes Premium Safety Glasses
3M Tekk Protection Valved Respirator
3M Advanced Abrasives Sanding sheets starting out with 80 for stripping down to 220 for smoothing.
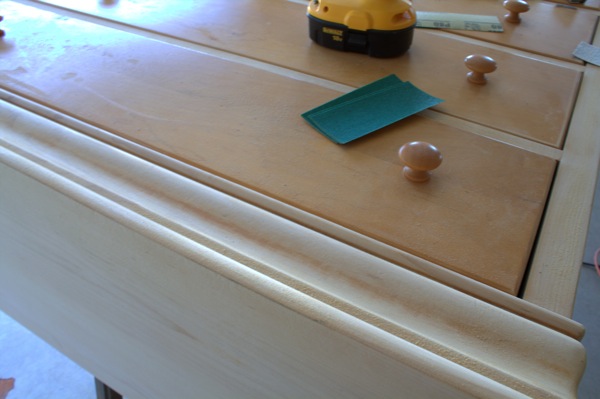 Step 2: Age the wood.
-
- Tea bags (any kind)
- Vinegar (I used regular, but you can use apple vinegar as well)
- 000 Steel wool pads
- bucket
- brush
I did some research online and found a little science experiment turned finishing method. I boiled some tea (three cups, but it was over-kill). When it cooled, I just brushed it on the wood. It won’t do anything to the wood. Once it dries, you won’t even notice you did anything. The night before, I had torn up some of the wool pads and poured the vinegar in a bucket with them. The next day, the mixture looks disgusting, but it works. After applying the tea, I brushed on the vinegar/wool pad mixture. It will start to change the wood right in front of your eyes.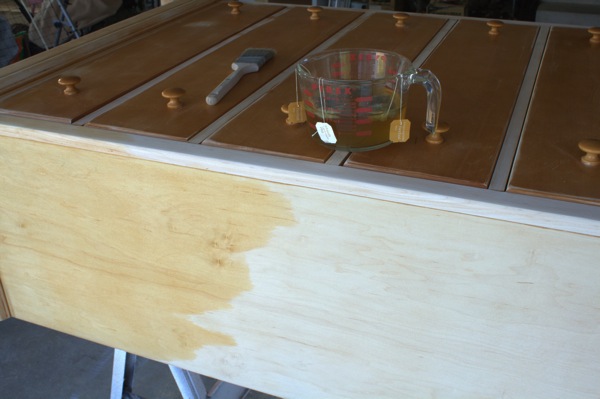
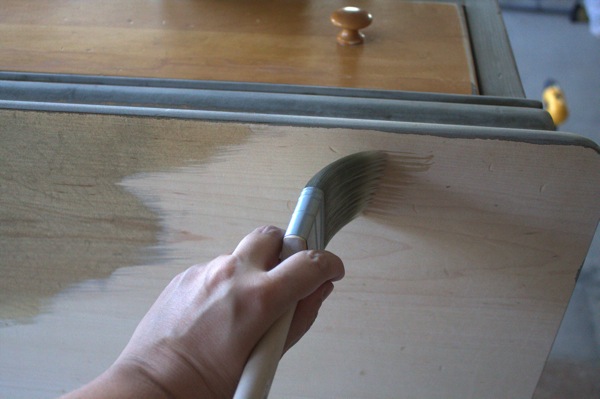
It will immediately start turning gray! The only problem with this is that it was just too gray. I wanted some brown tones to it to match the pallet wall I had done in my son’s room.
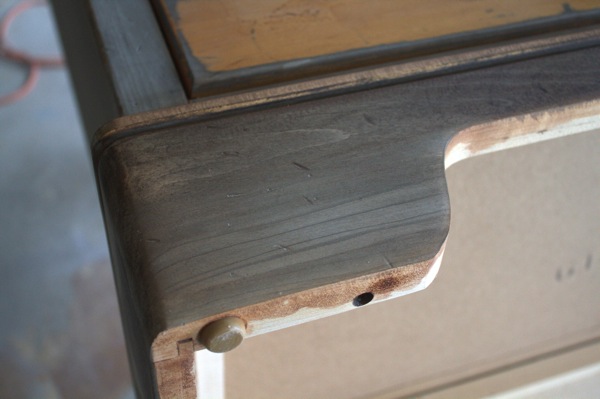
I used some Rustoleum American Walnut stain, and it was exactly the look I was going for. I didn’t let it soak on at all. I brushed it on and wiped it off immediately so the gray tones would seep through just a bit. 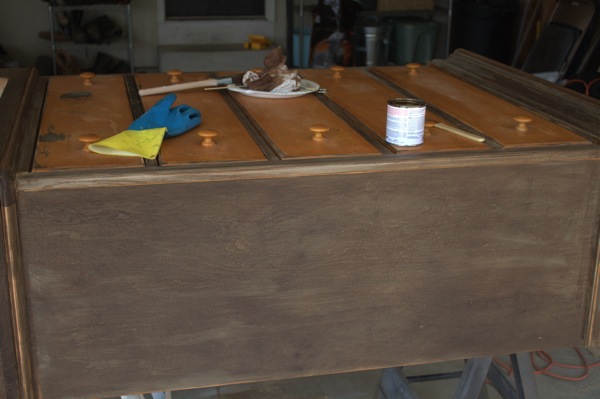
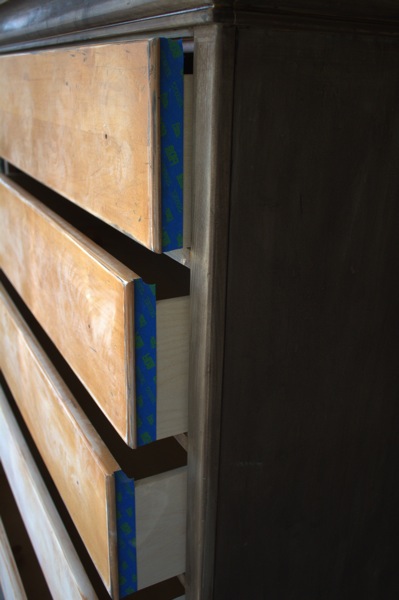
And now for the easy part! Whew! Never thought I’d love painting so much! Using some ScotchBlue™ Painter’s Tape, I taped off the drawer fronts. 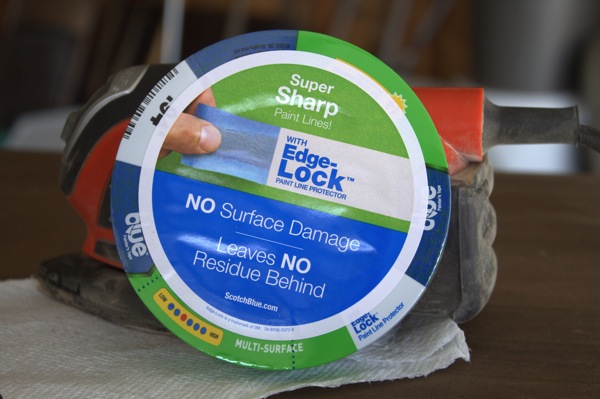
I had some leftover paint from my son’s headboard, so I used it on the drawer fronts to match. It’s Benjamin Moore’s Black Beauty. I love it because it has a bit of a chalky look to it.
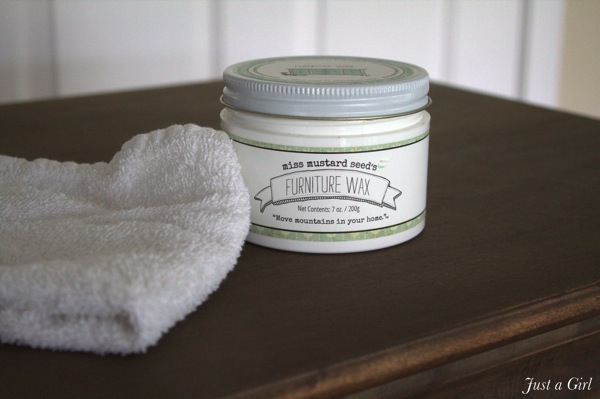
When the paint was applied, I used Miss Mustard Seed’s furniture wax. It’s my absolute favorite ’cause it gives it a gorgeous muted sheen, and it smells wonderful.
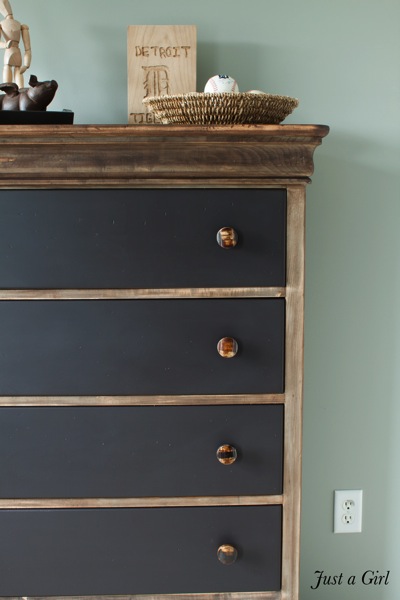
I found the knobs at Hobby Lobby, and they were the entire reason I stained the outside and painted the drawers instead of vice versa. It was much more pain-staking, but MUCH more worth it.
 as one of their experts to show how I did this project. I’m a big proponent of “safety first”, so using their gear is something that comes natural to me. Fumes, dust particles, and noise can really take its toll if you’re not protected.


This is truly gorgeous. I love the stain you achieved and the Black Beauty. Is that flat paint? It gives off a beautiful effect and reminds me of my current favorite tinted black, Napoleon.
Gorgeous! I love the wood stain you applied – I bet it’ll match that pallet wall perfectly!
Oh my…gorgeous!!
Oh my goodness Chris – I love this so much! It is so classic and cool all at the same time. What a gorgeous look! I would never guess it was the same dresser (or that I could transform it into something so industrial chic!) Great job!
This is such a transformation!! I love it…every detail is amazing. Thanks for the DIY steps as well. I might just need to copy this one:)
Sarah
I had to come back and stare at it again. And I have a golden honey dresser that is begging for this treatment. And guess where it is…in my son’s room.
I love the look. So, the tea treatment is a necessary step? Thanks!
WOW! I love this and will be trying it the next time I get my hands on a dresser that needs a redo! Just wondering what the tea does to it? Thanks
It turned out AMAZING!!! Totally worth all the time you put into it. Stunning!
Absolutely terrific! Such a fabulous makeover! 🙂
The dresser looks fantastic. I love the contrast between the drawers and the body. You must be so happy.
I LOVE this! After I saw yours, I immediately thought it would be fun to do the same with my 4 year old’s dresser, but use chalk paint on the drawers. And then I came to my senses and realized what a terrible idea it is to allow a 4 year old to put chalk all over something that is supposed to contain clean clothes!
Very nice Miss Chris! Love the color 🙂
Love it like crazy! That two tone effect is amazing, and I am totally crushing on the pretty wood tone paired with the chalky colored paint. Way to go girl!
xo!
Jen
I can’t even handle how good this. Bravo!
Wow oh wow!! You are dang good, girl!! That is a s@$t-ton of work!!! Glad you and your thumb worked it out, and I’m thrilled I could be the one to enlighten you on ‘your situation’ 🙂
Seriously, that looks amazing!
What an AMAZING transformation!!! I am just loving the grey effect the will and vinegar made into the wood! Just discovered your blog through Instagram!!! Love all your projects!!!
Kayla
Totally worth all the work! What a great combo and I love those knobs!
Chris, what a beautiful job! You know, I did a staining project on a chair recently (my first STRIPPING job–ugh!), and I loved the stained wood so much that I’m dying to do another project like it soon. Seeing your dresser inspires me 🙂 Great job! 🙂
Serena
Thrift Diving
I love this, Chris. I think I need some of those Work Tunes Hearing Protectors! You what’s funny? I just posted today about using apple cider vinegar and steel wool. 🙂 xo
You *know what’s funny
Can’t disappoint the English teacher.
I love this! I like the drawers being painted and the rest “stained”–I actually don’t think it would look right the other way around. (For the record, I also love the safety glasses!)
Found you via the Haven FB page. Love this! That black paint is fantastic with the stain.
Oh wow, Chris, what a difference! I love the two toned look. You did a great job!
This came out fantastic! I love the two tone! This looks like something you would see in a high end magazine, you did a beautiful job!
Hi,
I can’t wait to try this! A couple of quick questions — How many steel wool pads did you use? And how much vinegar?
Thank you for an amazing blog!
I don’t think people understand the purpose of tea. It’s not like fabric, where it colors. Tea adds tannins to the wood, to which vinegar or baking soda/water reacts. It creates the gray tones so desired in the finish! Pine and cedar are highly tannic woods, so they don’t need it. Maple, mahogany, oak, etc., are not.
The steel wool in vinegar creates an ebonizing stain. The longer you leave the steel wool in the vinegar, the blacker the wood will turn. Say, oh, 3 months? Immediately BLACK. Ask me how I know…
I’ve given up the extra steps with all this hoo-ha. 🙂 I use Rustoleum’s Sunbleached with the same dark walnut you used on top. It makes the most gorgeous color, very similar to what you’ve done here on this gorgeous dresser.
Beautiful job.
I would love to feature your dresser, I love the way it turned out, please let me know if this would be ok,
lauren
WOW, WOW, WOW! Don’t know how I missed this post. I’m a bit behind in everything these days. Anyhow, glad I caught it over at Perfectly Imperfect. Shoot, dog, this is awesome! I love that stain effect, tucking that in my brain for later…but I’m totally the “I want this look, but don’t feel like doing gal” 🙂 Have a great weekend!
My thumbs turn backwards too. And my fingers. Love the way this dresser turned out.