Guess who’s back? Back again. Justa’s back, Justa’s back….if you’re an Eminem fan, you totally hear it. If not, you’re just annoyed right now. Sorry. I’m back!! I’ll return again tomorrow with all kinds of ‘splaining about my absence, but I have a little DIY project to talk about first.
The folks at Lowes were gracious enough to sign me onto their team, and I missed the assignment for April. I figure I better get on that right away, eh?
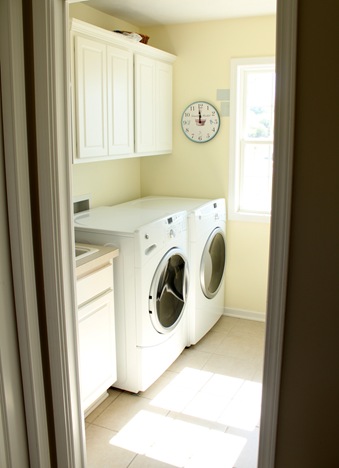
One of my home goals for the year was to tackle the laundry room. Sure…it serves its purpose, but I wouldn’t call it the prettiest room in the house.
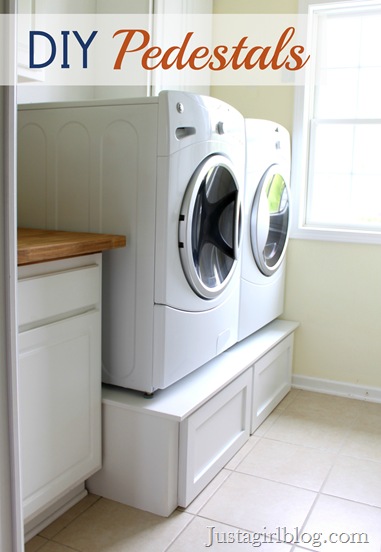
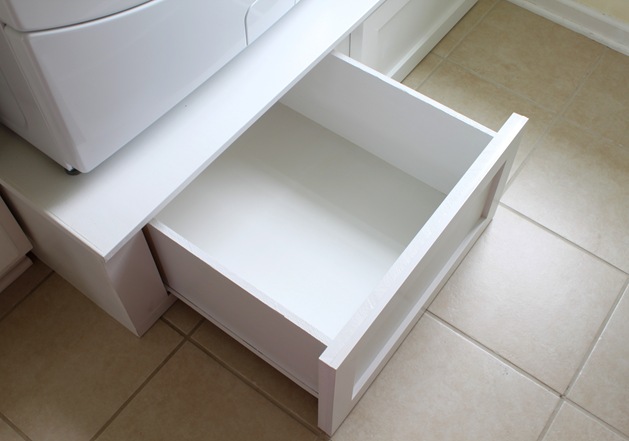
Phase 1 was to build a pedestal and get those machines elevated! I found quite a few simplistic plans that were helpful, but in the words of my husband, I “like to make things difficult.” Meaning—I wanted drawers. Another meaning? Call in my father-in-law. We’re gonna be measuring. A lot.
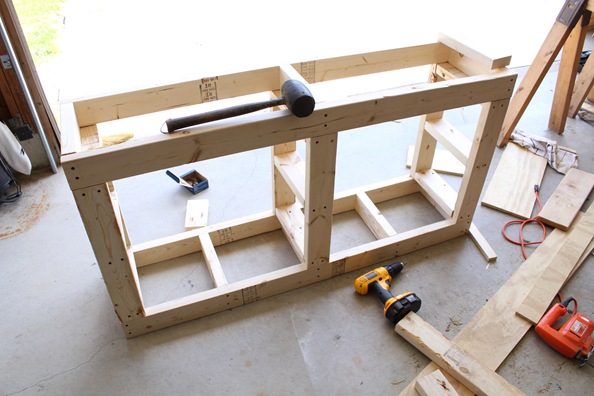
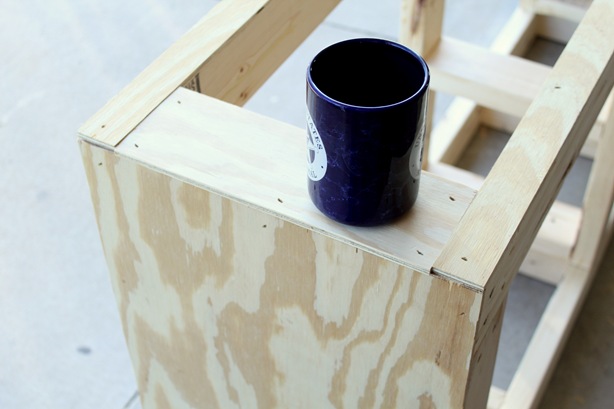
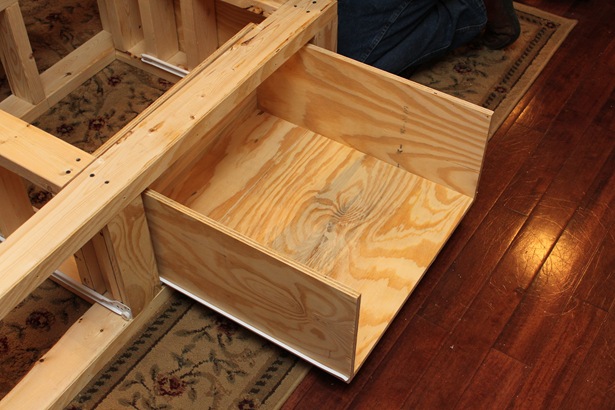
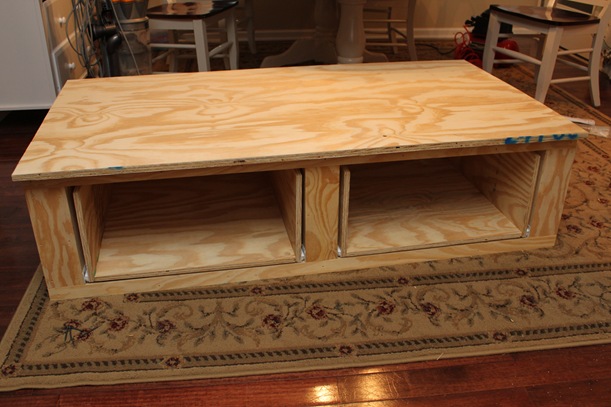
We basically went with 2×4’s in the pattern above. We thought that would give the most support for the machines. Of course, measuring for the drawers took about three years. Once it was figured out, we covered the entire base with some inexpensive plywood.
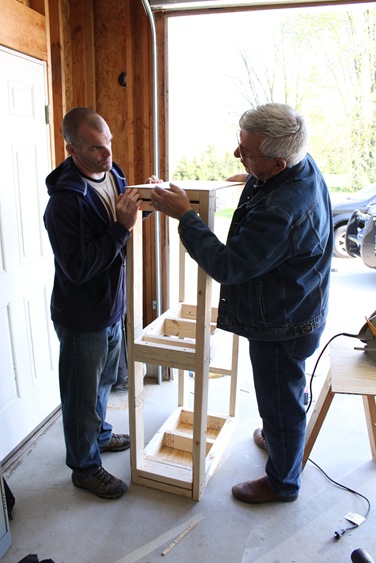
In order to trim out the front, we cut out the pieces separately. You could use a jig saw to cut out the shape of the drawers (leaving you no seams), but that seemed impossibly picky. We opted for some seams. And way too many nail holes. 🙂
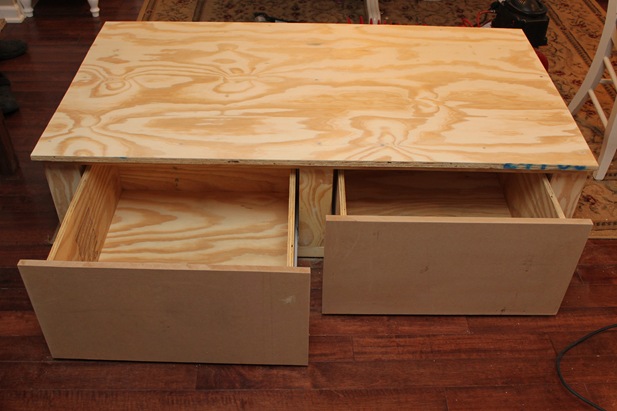
The drawers were pretty simple construction. Some wood glue and nails basically keep them together. We purchased some inexpensive drawer slides (thank you, Lowes!) and attached them to the drawer and the inside of the pedestal. Again—measure, measure, measure.
Once the drawers were fitted, we topped it all off with 1/2” plywood. We left about an inch overhang on the front side and glued a trim piece all around to cover the rough edges.
For the drawer fronts, we used some scrap MDF. I wanted it to be more finished than the rest since it will be the most exposed portion. We again attached it with some wood glue and nails.
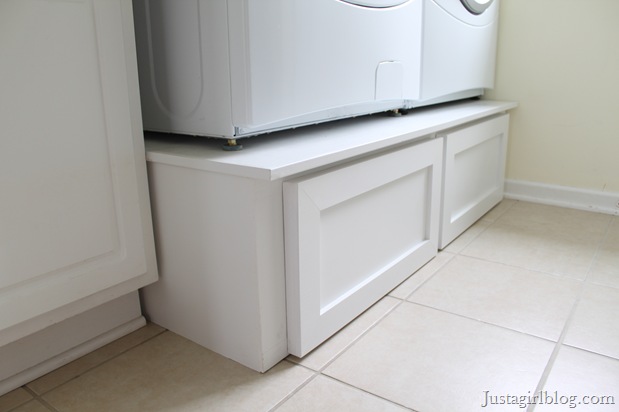
And then? I forgot to take pictures. Seriously? Who knows what I was thinking. Basically, I trimmed out the drawers and exposed edges with a couple different size trim pieces.
I’m so excited to have so much extra storage underneath now! While it was a LOT more work to build the drawers, it was definitely worth it.
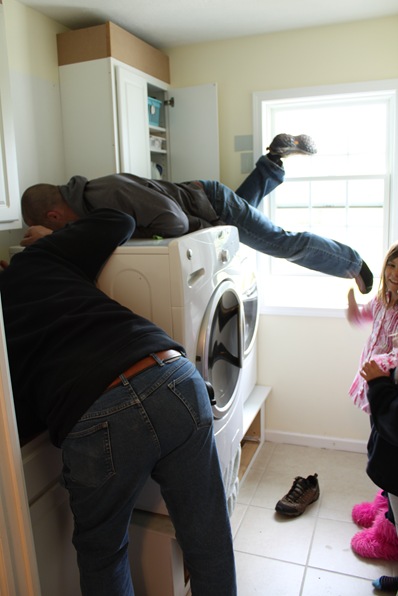
As for the installation of this bad boy in a narrow laundry room…don’t ask. I’ll let the picture speak for itself.
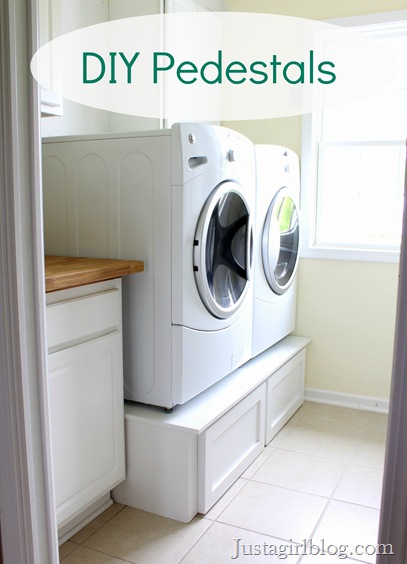
You may notice the absence of pulls on the drawers. I ordered them, but they haven’t arrived yet. Don’t worry—I’ll show ‘em off when they do!
Disclosure: As a Lowes Creative Ideas Network Blogger, I was given a gift card to help with this project.


Gorgeous! Love it, way prettier than the overpriced pedestals sold by the manufacturer. Michigan girls are so smart. 😉
very nice!!! i have front loaders and bought the silly pedestals. i only wanted them because i didn’t want to have to bend over. good thing that’s all i wanted them for…those dopey drawers are so shallow i can’t even fit a bottle of laundry detergent in them! what good is that? i hope yours are deeper than mine. :o) can’t wait to see your finished room.
Great custom job. Extra storage is always a bonus! They look fab.
It looks amazing!!! Love how it looks and all the storage you gained. We did something similar with ours, and I just loved being able to stick it to The Man and not have to buy the ridiculously expensive pedestals that they sell 🙂
Amazing! All the extra storage and it’s great that you built it yourself!
Love this! I’d really like to do something similar when we redo our laundry room.
Love…Love…Love! I wish I had the skills to do something like this. I want pedestals but not for the price they’re being sold for. I’m tired of bending over to get my laundry out. Maybe I can get someone to make some for me. Hmmmmm… I must bookmark this page for future reference. 😉 Thanks for the inspiration.
Looks great! I would love the extra storage space but I also want a counter top over my washer and dryer – and I can’t have both. The counter is winning at this point – we will see what happens by the time we get to finishing out laundry room!
Love these – they look great!
Hi Chris,
So glad you are back!!
So since they’ve made it once…a second time would be even easier…can you guys come over and build some for me?????:) I’m only on the other side of the state – hee, hee. Hope all is well with you. Glad you are back – so enjoy reading your posts – always fun and informational at the same time!
ahh! I was just going to ask you when you were going to post another one of your projects!! I mean I know you have a life, but come on! Mine is spend looking at your blog lol..just kidding…no I am not :)….anyway PERFECT project because I need to make these as well!! I couldn’t bring myself to spend 200.00 each for the drawers!! So thank you!!!
Adorable! So adding this to the husband’s ‘list’.
LOve these! I want front loading machines so my husband can make me some of these:) I am featuring this at somedaycrafts.blogspot.com
I’ve created a monster, cuz nobody wants to
see Chris no more they want Justa I’m chopped liver
well if you want Justa, this is what I’ll give ya
a little bit of laundry mixed with some hard humor!
I love you, your laundry room, and I’m thrilled your back girlie! xoxo :). 799.
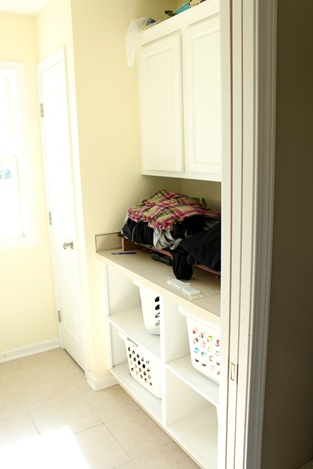
AWESOME with the drawers! I love the spaces where I can hide the ugly stuff! I need to show Dan those slots for baskets on the other side too…we need to add something like that in our space. I seriously LOVE Lowe’s. It’s like the prom queen of home improvement…they did such an amazing job on our laundry room cabinets…that I still need to do a reveal of 6 months later. Oops. 🙂
Glad to see you back!
Great added functionality for the laundry room!! So much sturdier then anything available to buy too. And you gotta love extra storage =)
very inspiring…you got a luxury item without the luxury price..better yet, you got it exactly the way you want it….good job!
I love this! Added so much storage and more dimension to the laundry room, and they look beautiful. Really great job and glad you are back 🙂
Glad to see you back, Chris! And what a way to kick things off–your pedestals/drawers look amazing! I need to tackle my laundry room again, although I don’t think my will ever, EVER be that clean and organized. Not in my lifetime, anyway. If I left it up to my husband, it would be clean and organized; he probably wouldn’t even need the extra storage from those drawers. For now, I’m inspired by your work!
Absolutely love your pedestals! The drawers are perfect for extra storage and that would of been wasted space otherwise. You made the perfect choice!
Whoa! This looks AMAZING!!! And I can’t wait to hear what else you’ve been up to 🙂
They look amazing! Nice having a talented husband and father-in-law who can make all those beautiful ideas in your head come to life. 🙂
Oh My Gosh! They look wonderful!
Would you please come build me some? 😉
Can you tell me where you found the plans for the original pedestals?
Can I ask a dunce question? What are the pedestals for? We never see these in the UK despite having front loaders as standard. Is it just to stop you having to bend down as much?
108hollywalkpark:
I’m originally from the UK, and I built one of these pedestals years ago for another reason: maintenance.
Do you see lid in the bottom-left front of the washer above? That’s an outlet to drain excess water. What happens is that after every load, there’s water that accumulates at the bottom of the machine. This helps with the accumulation of mold, so the best thing to do is to drain it after every use.
I will take some pictures of my setup next weekend, but basically I elevated my washer and made a valve that allows the washer to drain into a basin. Really simple setup, but as Chris said, it takes a long time to build! And Chris, yours is not only practical, but also beautiful, so well done!
My husband made a pedestal for our washer and dryer. When Home Depot came to deliver the washer they would not even set it up on the pedestal because it was home made. That was really ignorant of them.
Any chance you can provide the demsions or plans for your Laundry Pedestal ? They look awesome !!!
Loved the look of your pedestal. Was wondering if you had any issues with vibration with the washer being on a wooden surface? Appreciate any feedback. Thanks 🙂
Ah.. What happened to the overflow pan? I like the look, but where is the fail-safe draining when the washer leaks?
This is so great! I need to get right on this for my new washer – Thanks for the inspiration 🙂
The stand is beautiful! I’ve been looking at different diy stands and not many give the option of having drawers for storage. I am the kinda person that needs measurements to make cookies! Do you have any measurements to share to make the stand for a new diy’er?
Thanks for the hope that I might be able to get me a stand built 🙂
My jaw dropped when I saw this PIN. I have been wanting pedestals but I can’t find ones to fit my hand-me-down brand. Also, the ‘man’ who designed our laundry room put the window and laundry tub between the washer and dryer. I was wondering how it would by having the laundry tub between the two towering machines. LOL
I was also wondering about the washer being secure while spinning. Maybe making a narrow ridges around the top of pedestal to keep it from taking a nose dive???
Chris, thank you for this. I was planning on taking an afternoon to put together a laundry pedestal for my wife. I thought it was going to be quick and easy until she said “I would kind of like drawers”. …lol, as you did. 🙂 It was then that I realized I needed some design ideas. I quickly found your site and decided it was the best design to go with.
I read through the comments and saw that you said it shakes a little bit, which concerned me, so I beefed of the framing a bit by using 5 of 6 more studs, which made it solid as a rock. I tell me friends I’m using it as a stepping stool for the elephant I’m planning on getting 🙂
Again, thank you very much for posting this.
Rick
Hi!
Do you happen to know the measurements you used for this? We’d like to build one and it would be very helpful if we knew the measurements. I want to do the drawers and, as you said, the measuring can take forever.
Also, any updates as to anything you’d change on them now that you’ve had them up and running for a few months?
Thanks
-Sara
Love this idea! And I love the photo of the installation process – LOL! Turned out great.
We always want to renovate our laundry, so to make it more user friendly and create more storage spaces, unfortunately we don’t have lots of useful ideas and since my husband does not trust his DIY techniques with hanging cabinet projects, so there are not much changes in our laundry 🙁
But with your post, I can see the light at the end of the tunnel 🙂 Thanks!!!
This is great! Do you think you could post a list of the materials used? Just so I’d have an idea of how much/what size wood went into this?
My only question….did you just trim the drawers and then paint the rest (inside the drawers and such)??
Hi there! I am fascinated by this project! What a wonderful idea. I really would like to do it in my new house after its complete and was wondering if you still had the plans/dimensions that were used to build this or a place where I could find them. Thank you and your blog is awesome!
Would love to get the dimensions you used, especially the height. This is EXACTLY what I have been looking for. There are $231 a piece for the factory issued version, but I like the full platform.