Original post title brought to you by a washed up blogger. Lol? Sorry. Took some time off from blogging, but I have what I think is a pretty good tutorial for you! Who doesn’t love some outdoor lights, right?
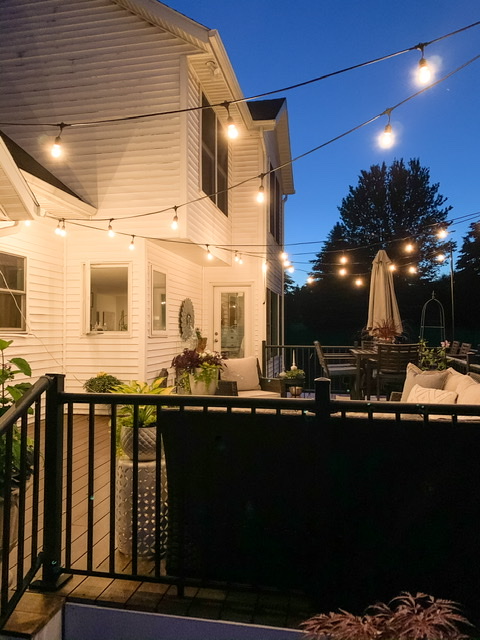
After years of putting it off, we finally added some outdoor lighting to our deck, and it. is. glorious. Not only that, but it’s super easy and relatively inexpensive to do! So that’s why I’m here. To teach you my outdoor lighting ways.
Supplies needed:
- A deck. This could be a patio. Or a porch? A floor with one wall?
- String lights. I recommend something industrial to hold up better.
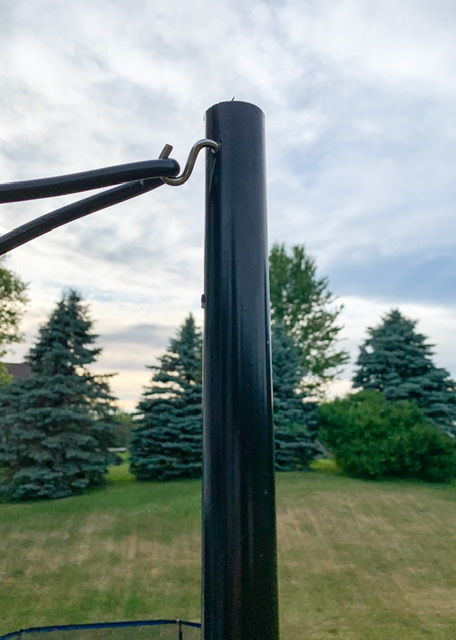
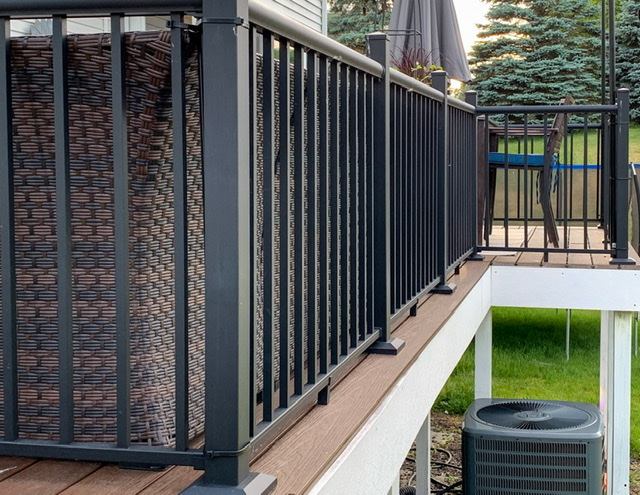
- Fence posts (ours are 12 feet, cut down to 9 feet) I couldn’t find the exact one online, but I linked a shorter version of the one we purchased.
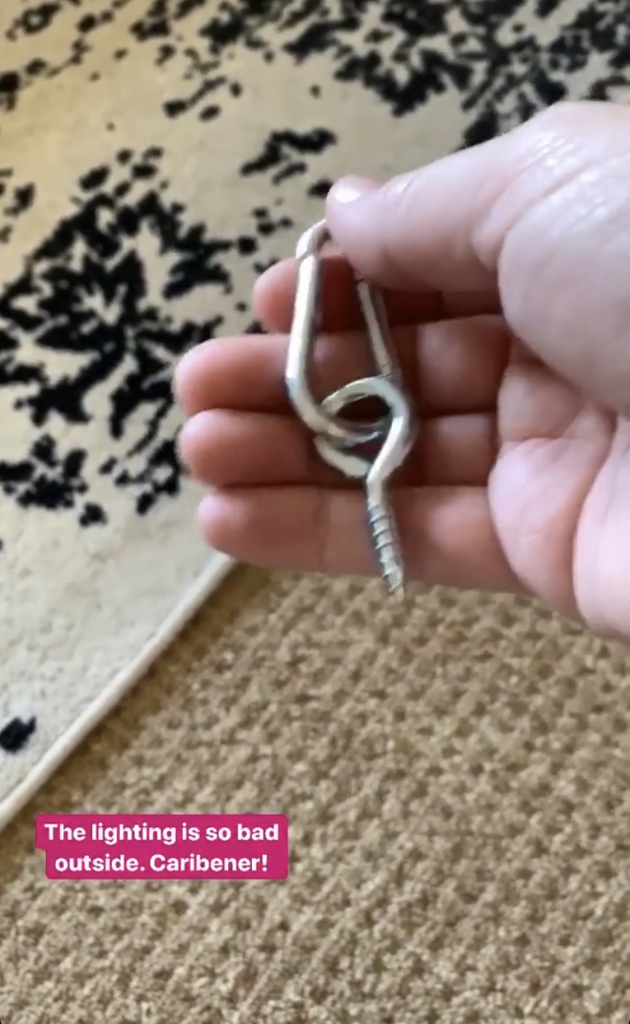
- Small caribiners for each point you attach to the house
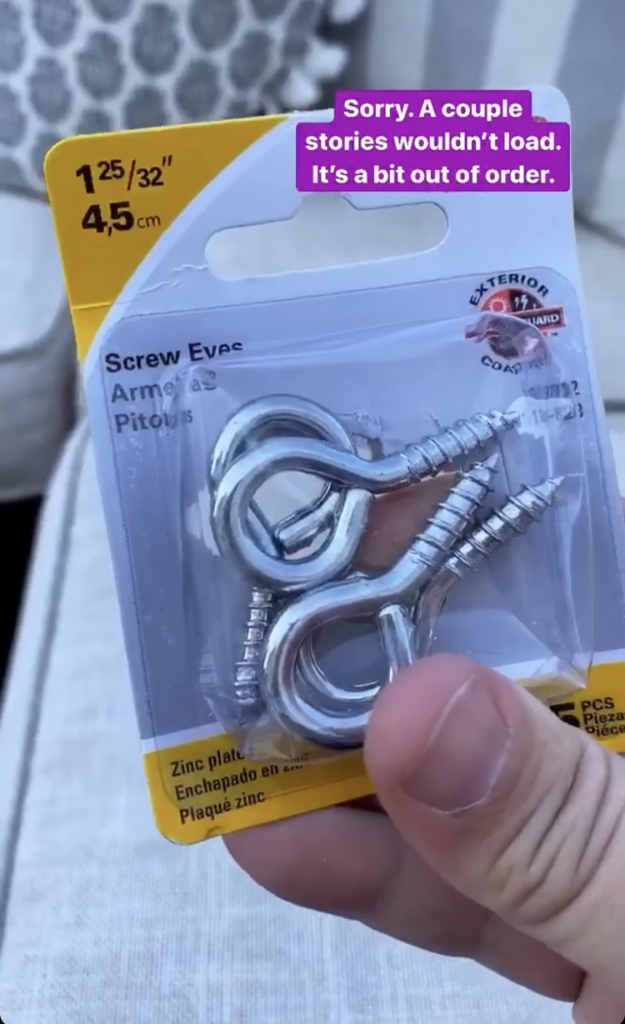
- Eye hooks to drill into the wall
- S hooks for each pole
- Cordless Drill
- Hacksaw (if cutting down your fence posts)
- Zip ties (similar style) to match your poles
Ok, first things first. You’re going to want to figure out the layout of your lights. Zig zag, square around your space? It’s up to you! I’m showing you some poor-ish photos of the actual supplies I used.
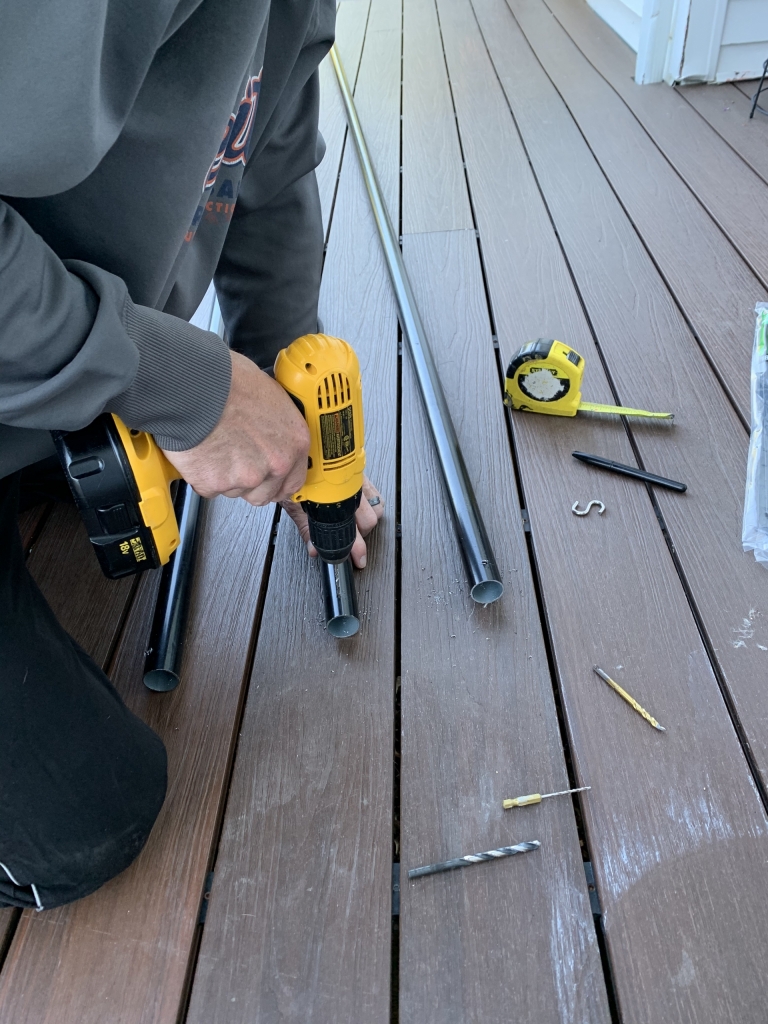
There are obviously different means of hanging the lights on the pole, but we opted for drilling a small hole and inserting the S Hook into it. It seems to be holding (keep in mind, there is a lot of tension once they’re up), so I think it works!
Once we drilled the holes into the poles and put in the S Hooks, we attached them to our deck railing. Because we have metal railings, we couldn’t drill anything into them. Again-wing and a prayer here-we decided to zip tie them to the railings. We used 18-inch industrial ties.
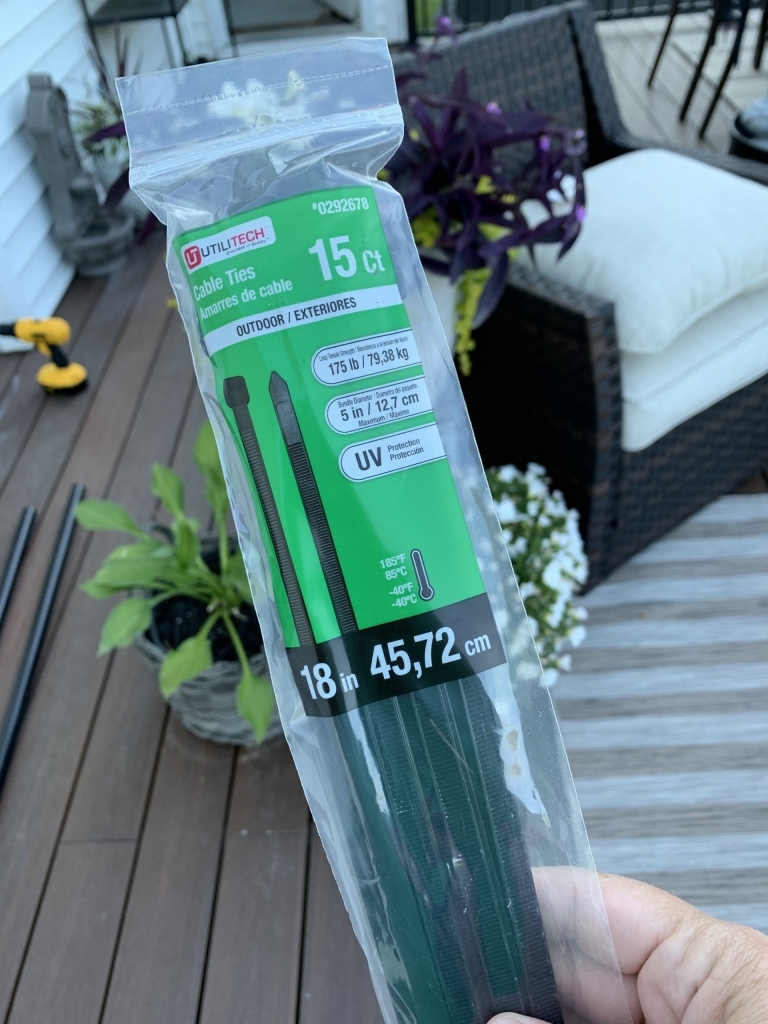
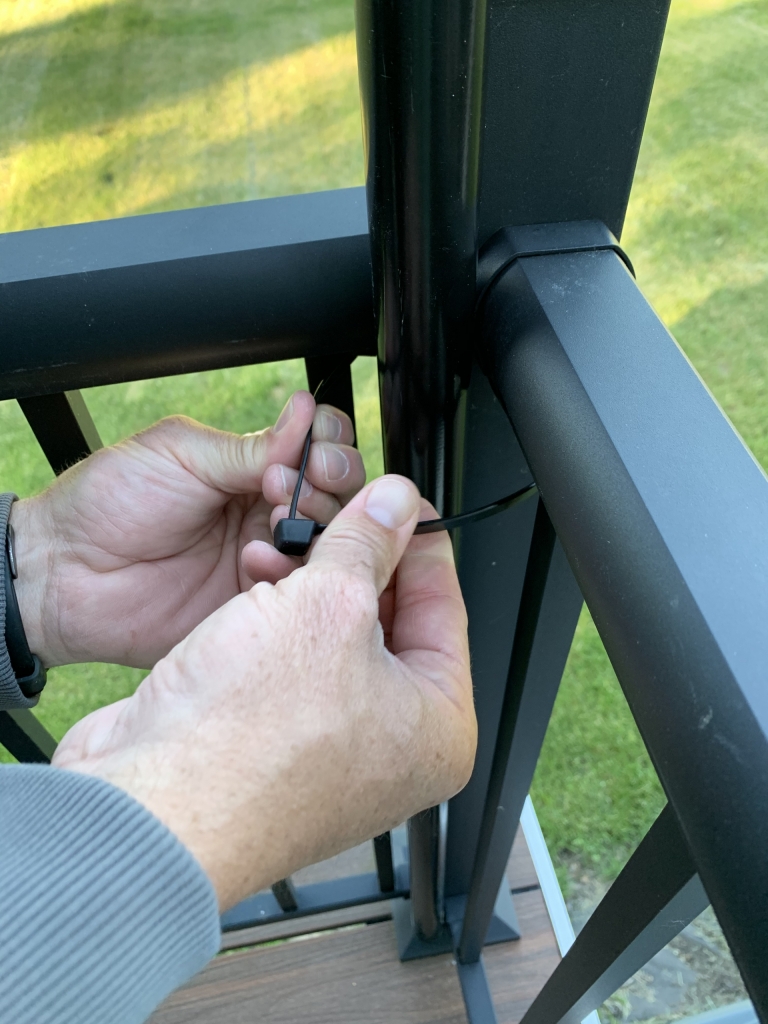
Once we clipped off the ends, you barely notice them on the railing. Worth it even if you do see them! 🙂
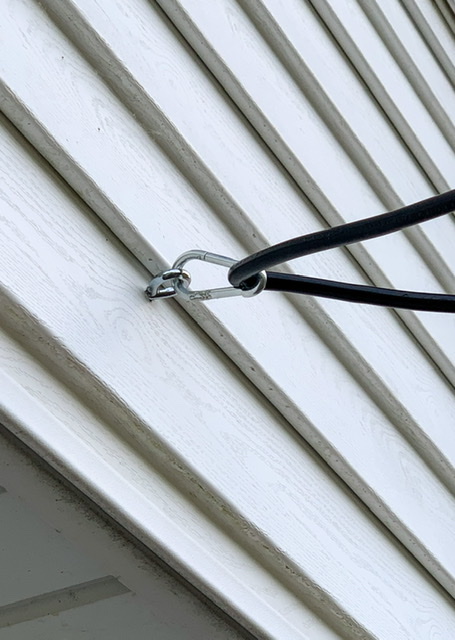
Thennnn use the eye hooks to drill into your house (sounds scarier than it is!).
Attach the caribiner to the eye hook and then put the light cord into the caribiner.
I suggest placing the hook quite high up. I’d say around 9 1/2 feet. You want to allow a little room for the string lights to “swoop”, and you don’t want anyone hitting their heads.
Honestly, the hardest part of this whole project is figuring out the configuration of the lights. I only had to move one hook once I drilled it into the wall, and I wasn’t too upset about it. People shouldn’t be inspecting your house walls anyway!
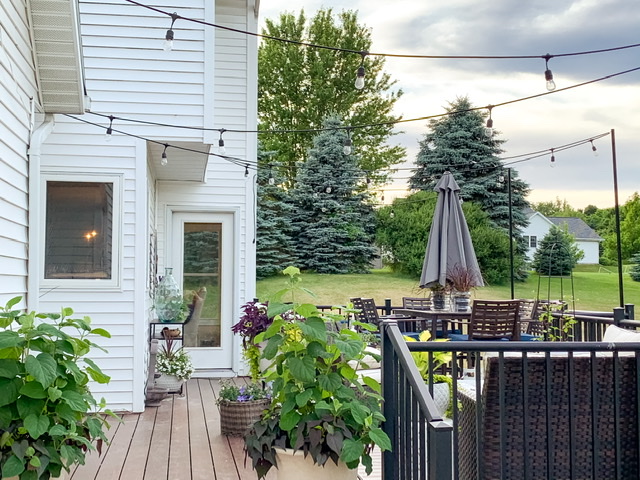
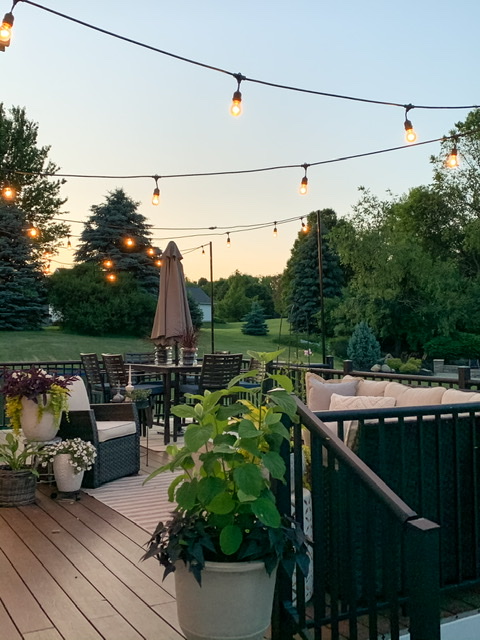
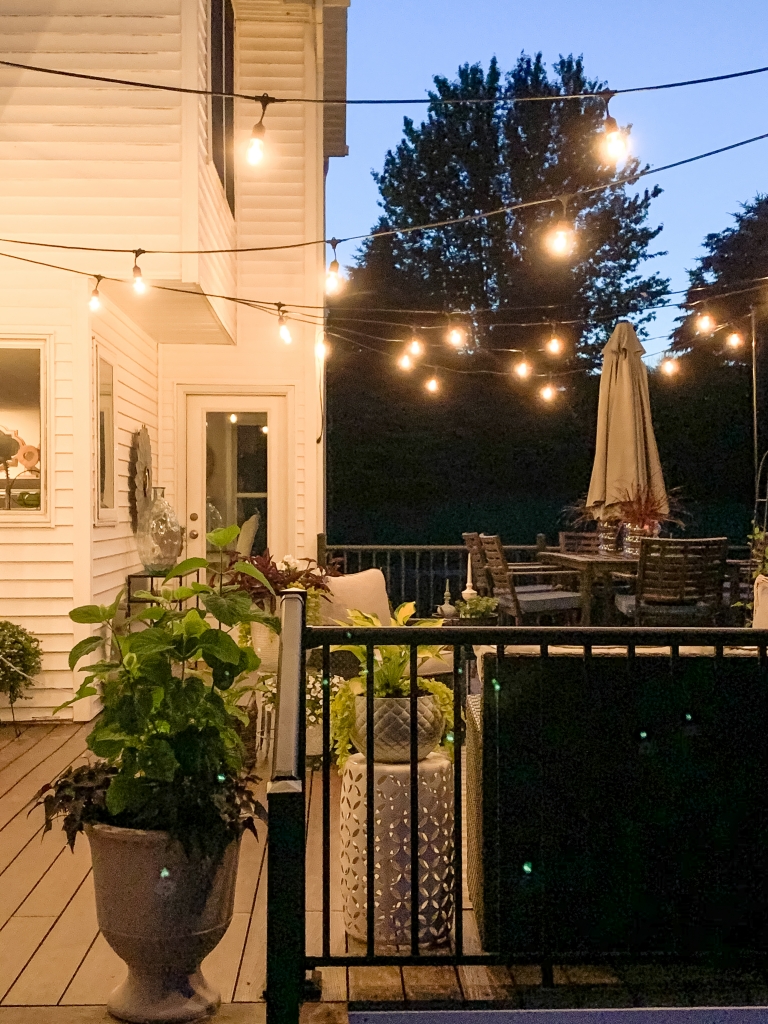
Here you see the progression from late afternoon to evening, to night.
Va-Va-VOOM!
I haven’t written a tutorial in about 712 days, so my apologies if I forgot something! Feel free to watch the video version of this over on Instagram. I have saved it to my stories. Good luck!

Latest posts by Chris (see all)
- Tartan Plaid Bedroom - December 1, 2021
- Favorite Things 2021! - November 24, 2021
- Our Christmas Wishmas Tree - January 3, 2021


