This is going to have to be a couple of posts. I just have too many pictures. It started with me wanting to get rid of our armoire. It was bulky; we’d had it for 9 years; I was over it. That’s a good enough reason, right?
(I’ve probably taken 481 pictures of the armoire, and this is the only one I could find. Annoyed.)![IMG_6185_thumb[4] IMG_6185_thumb[4]](http://justagirlblog.com/wp-content/uploads/2012/07/IMG_6185_thumb4.jpg)
So, we sold the three matching wood pieces on Craigslist, and the hunt began for something else. That something else started with a flat screen tv. That flat screen tv then lead to an electrician who mounted it and buried all the wires in the wall. It is times like these that I realize what my husband means when he says, “Nothing is simple when it comes to your ideas.” Oops.
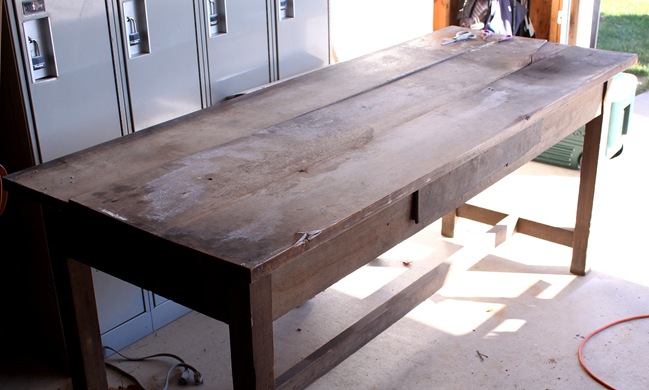
I scoured Craigslist for months looking for “just the right piece”, and I found it! Ain’t she a beaut? For $50.00 I found an oil-covered, beat up workbench that a man was selling from his workspace. It was actually covered with metal sheeting, but I didn’t get a picture in time. The top planks were in bad shape (oil-soaked), but the rest of the piece was divine!
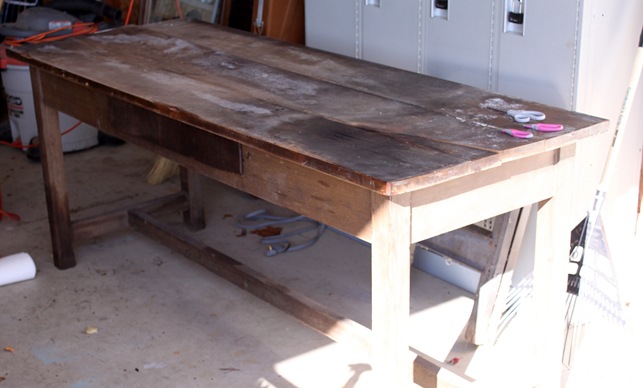
I removed all the planks and sanded that baby down. In my basement. Which I don’t recommend. It was really turning out beautifully, however. I suspected that the wood is mahogany, so I wanted the top planks to match the tone as much as possible. Unfortunately, that’s where I started to spend some money.
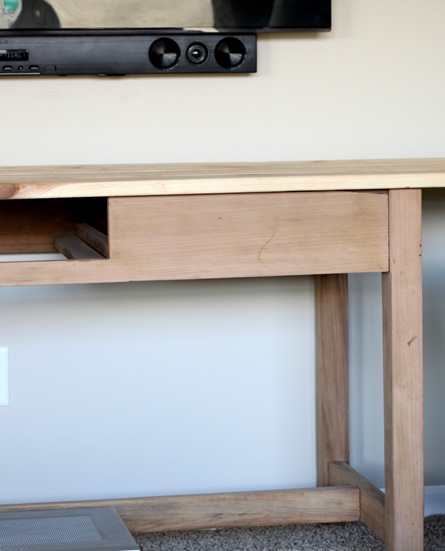
I spent about $8.00 on each piece, but it looks really cool with the base! Money well spent.
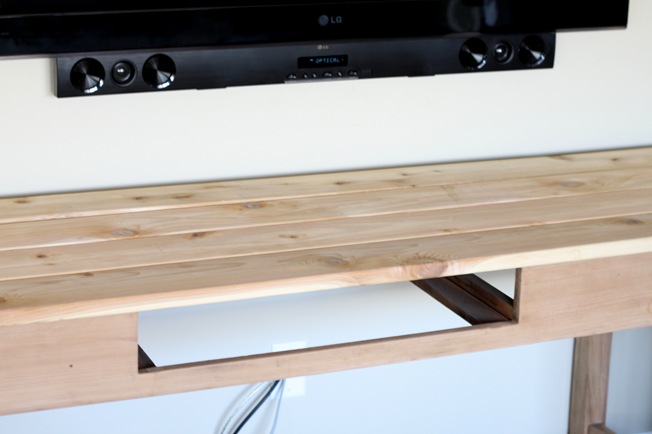
This time, the sanding took place outside. I didn’t go crazy with it because the point was for it to look rustic. Just enough to make it smooth and not wedge a sliver into my hand when working with it.
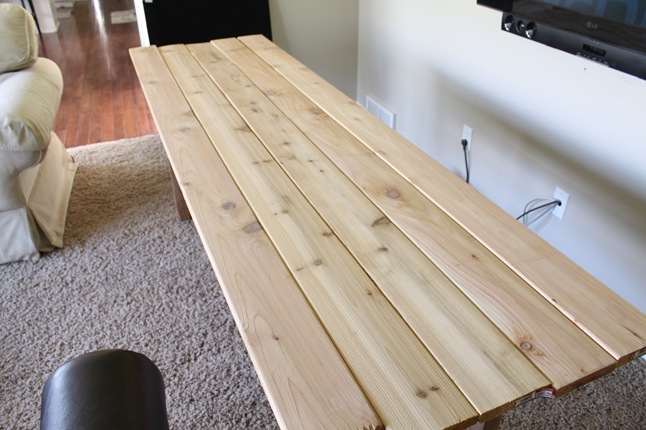
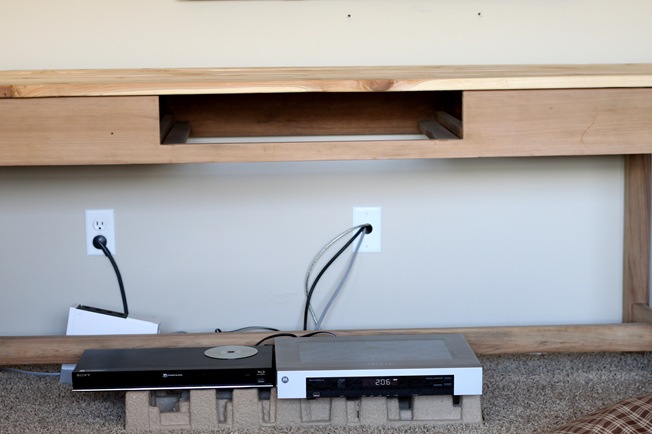
And then this is how it sat for a couple of weeks. Our entertainment center was now officially packaging material from our tv. Decorating at its finest.
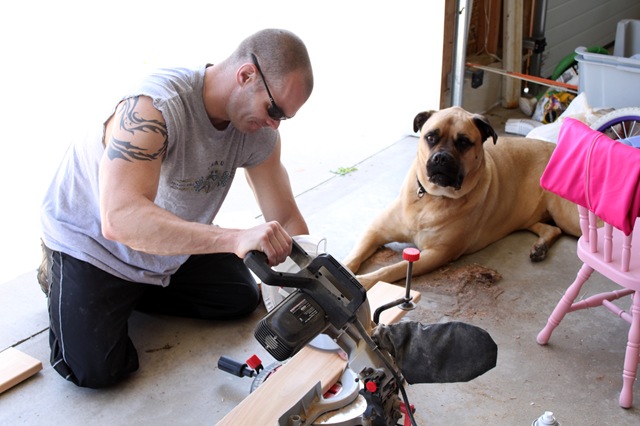
When we finally got a spare minute, we cut the planks down to the length we wanted. And Maximus chose to lay in sawdust as opposed to anywhere else in the garage.
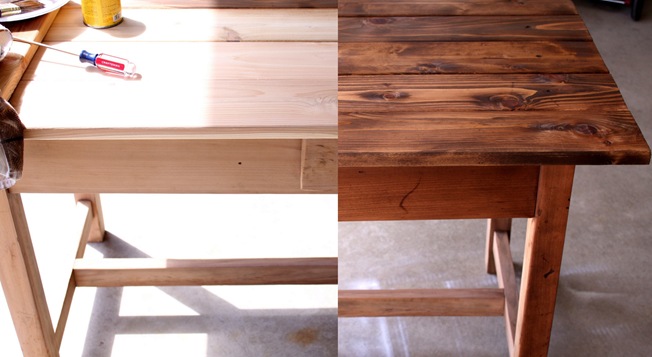
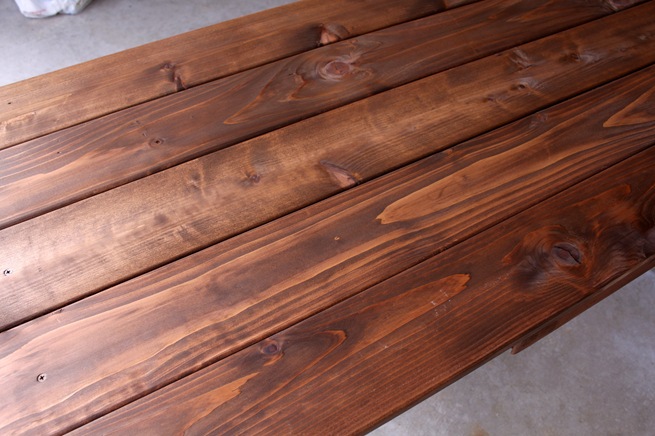
Then it was time to stain—one of my favorite parts. I used Minwax Special Walnut. Yumm! I didn’t let it set at all because I liked the tone straight out of the can—something to note.
Since I really didn’t want my floor to house the cable box, etc., I had to figure out how to create a surface for the bottom half. Hmmmm what to do. I’ll be back on Wednesday to let you know what I came up with. Lu-huve it!
**The finished table can be found HERE.


i put off buying a flat screen for awhile because of all the re configuring we had to do in the living room too! it was worth it though…i love my tv. :o) great table!! we bought another giant entertainment center to house the flat screen and i MAY be regretting that purchase (don’t tell my husband).
OMG! We had the same problem. When we got rid of the TV armoire and bought the flat screen, it threw off the scale of the whole room. Because of this, we’ve replaced the sofa, two chairs, pillows, lamps, pictures, mirrors, and rug. We’re still looking for a coffee table. We bought a used buffet to house the components, but it wasn’t right, so we bought a different piece from Ikea. Everything we replaced was getting pretty old, but it all started with a TV back in December.
Oh no…I feel like I am watching an episode of Grey’s Anatomy…to be continued…I cannot wait to see the finished piece! 🙂
Nice job honey. Looks great. Didn’t know you were getting new furniture too. We’re twins! Isn’t it fun decorating? Now I have to get you to help me with paint. Not my easiest decorating job. Can’t wait to see it all put together. Love ya…. Mom
I totally love it and you did a wonderful job.
Let me say, I love your dog!!! Totally smitten!!
This is beautiful! I can’t wait to see the rest of the post. I’m getting ready to do a coffee table similar in style. Do you do anything to the wood after? Sealer? Maybe you could answer in your post?!!!
Thanks for sharing…love it!
Not gonna lie, I feel kind of special because I know what the final product looks like. You weren’t kidding when you said the top was oil-soaked. You definitely did an awesome job on this piece!
I love that you are repurposing an old workbench. I think it will make a great console. I also think that you were right not to let the stain set at all, the color is gorgeous! Dogs really are funny little critters, aren’t they?!
Wow – what a great repurpose! Can’t wait to see the finished product!
Can’t wait to see how this turned out! The stain is gorgeous! 🙂
Awesome. Thanks for a great blog and ideas. I want to win the Lowe’s gift card. Thank you.
As your husband says, with you, nothing is simple! (It’s probably a common line used by many of our husbands!) what a great find though! It’s going to be great!
This is like reading a fabulous book with the last page missing! I cannot wait to see the finished product. Can you tell I’m a sucker for a good furniture makeover??? 🙂
Hi There! LOVE this diy table! I actually was wondering if you could tell me the size of your console table? I’m looking to make one as similar as I can get it, but not sure how long it should be. Thanks so much! love your updates!