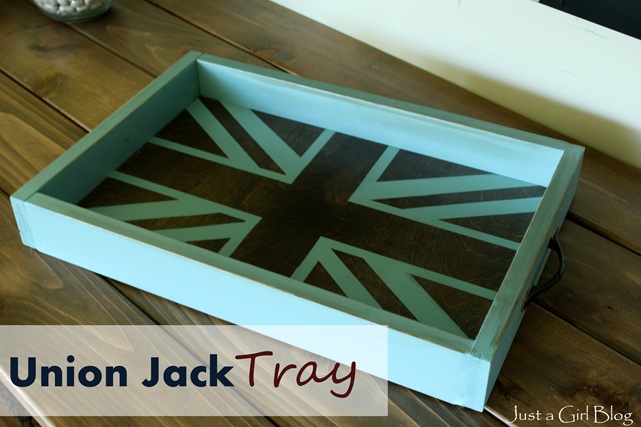
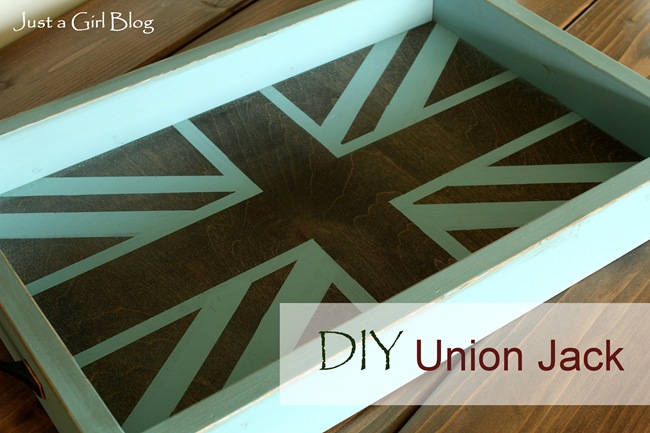
**Due to a scheduling issue, I had to pull this original post. It’s baaaaack! Hello there! I’ve been doing a little “project”ing around here lately, and I thought I’d show one to you. I’ve been loving the union jack pattern, but it’s just not something that would really fit in my house in any kind of large scale. So I did the next best thing—a smallish tray.
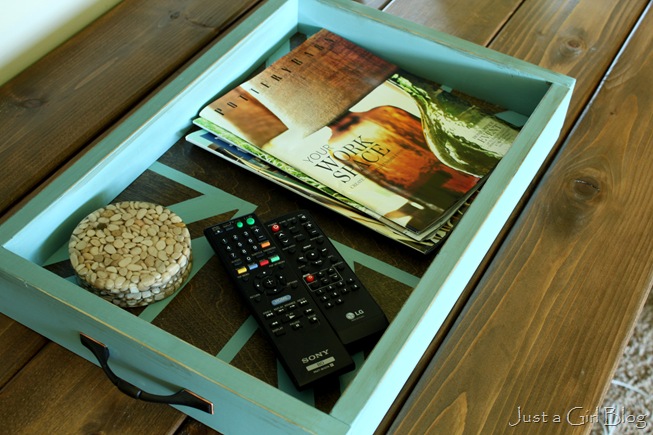
For about $12, it’s kind of cool to have an original tray to hold our living room junk as I call it. You know—remotes, coasters, etc. Remotes—the bane of my existence.
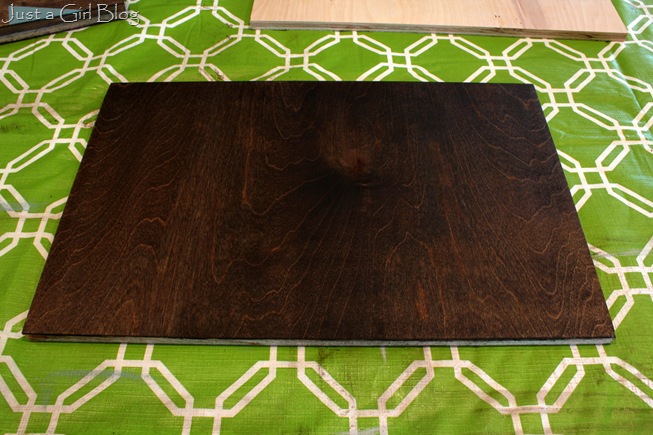
I bought a small piece of wood and had my Lowes guy cut it into the size I thought I’d need. Some Dark Walnut stain on it was the easy part. Make sure to wear some protective gloves ‘cause this stuff is so gross if it gets on your hands!
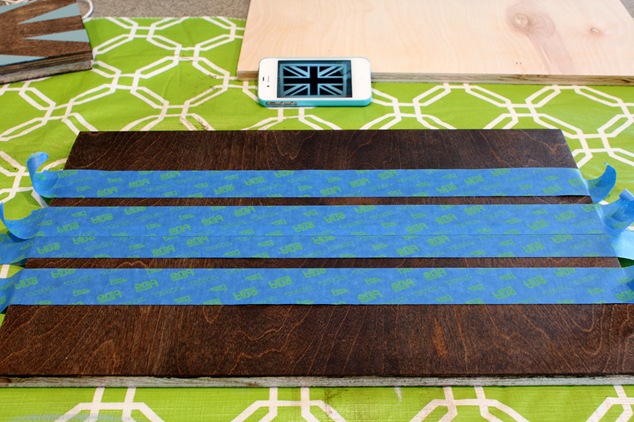
And now for the pattern. Eeks! My cheat sheet (aka my iPhone) helped me figure out the pattern. My goal was not to measure anything out. I wouldn’t necessarily recommend that goal.
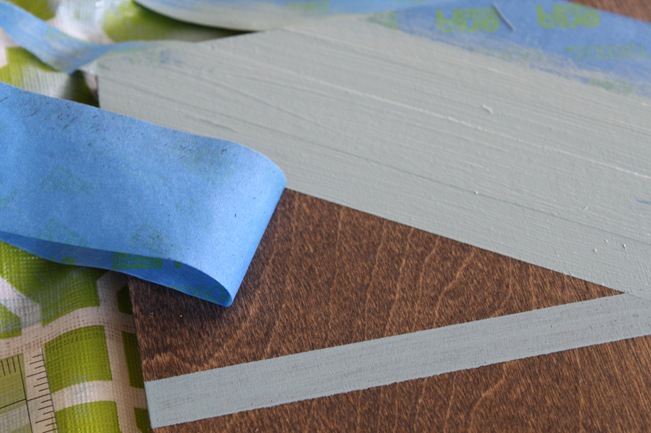
Using some ScotchBlue Painter’s Tape tape (hello, love of my life!) I taped off the center grid lines first and painted those in.
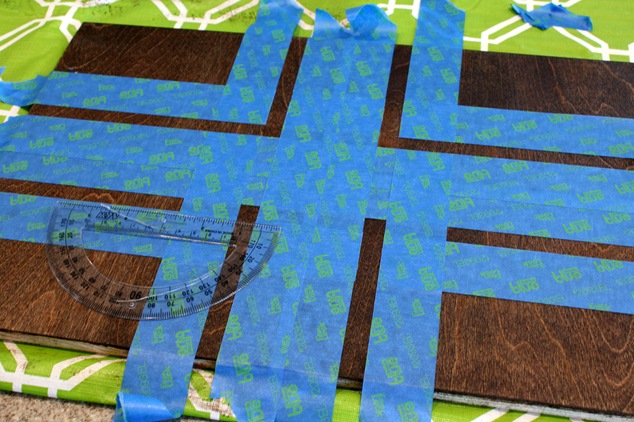
The paint dried super quickly, so I proceeded with the “x” part of it. Keep in mind—no measurements. I was ok with it being somewhat flawed just as long as it came out crisp.
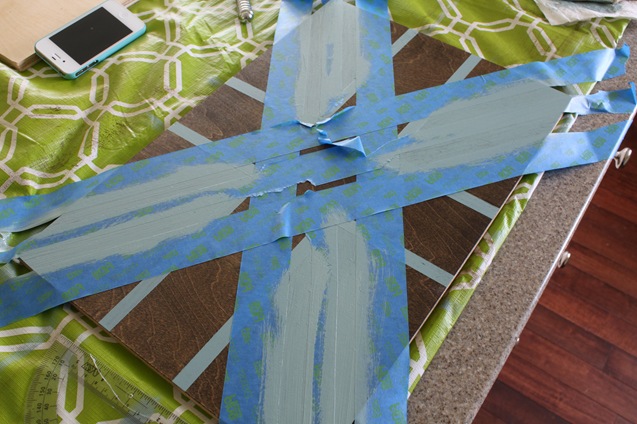
How’s that for crisp? Good job, ScotchBlue Painter’s Tape. “You’re my boy, blue!” (Name that movie?)
Soooo once it was painted, it was time to build the tray. After all that freestyle painting, this was the easy part! I just used my nail gun (pah pah pow!!), and it was finished. As you can see, I always have my safety glasses (cool looking, no?) when using the nail gun. It’s such a high-powered tool that it makes me nervous just thinking about what a shard of nail could do to my eyes!
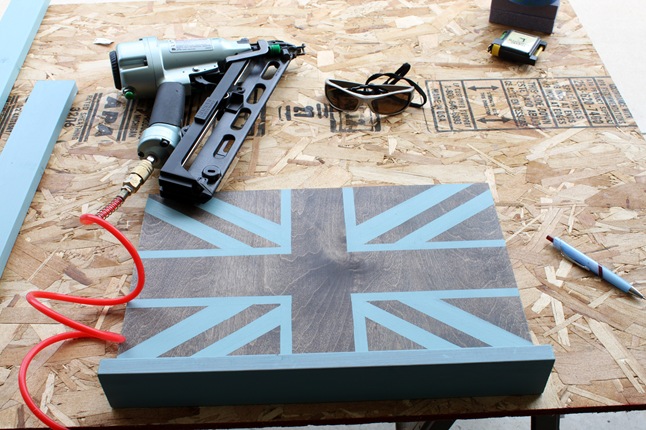
Oh wait. Not finished. I added some handles with a bit of a rubbed finish to make it blend with the rustic feel of the tray.
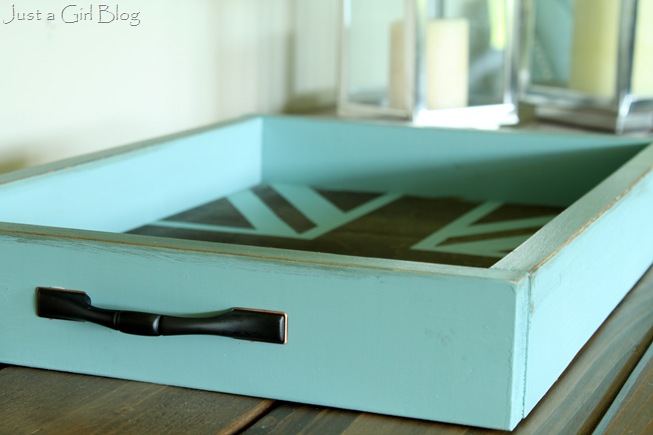
Now we have a catch-all for those pesky living room items. Just got the new Pottery Barn catalog. Thank you, Lord.
3M DIY has partnered up with some other talent in blogland. If you’d like to see some other projects by those fantastic bloggers, visit 3MDIY.com.
This post is a collaboration with 3MDIY.com. To enter to win free samples for your next DIY project, visit 3MDIY.com. Content and/or other value provided by our partner, 3M DIY.




Chris, this tray is so pretty. Thanks for sharing the how to. I just saw your picture and wall treatment in @Better Homes and Gardens magazine. Great job! And congrats on the magazine article!
Ann
I LOVE that tray. You could seriously sell that in a fancy boutique…and I’d buy it except I’m THAT person that looks and thinks, “I could make one of those” and then never do because I’m TOO busy! But I’d definitely eye it and take a picture and THINK that I was going to pretty much copy it exactly! That’s how fantastic it is!
Really nice tray Chris. Good job. Love the colors, and the patterns you could use are unlimited. Don’t know how you fit in the time to do all these projects. I have a tray too, but it has no personality like yours because I purchased mine at Target. Liked the step by step. Mom
Great job! Looks like you picked up the tray at pottery barn!
Love the tray. It looks like you bought it. That pattern could be used so many ways…great job!
I live that dark stain on the tray! Also, congratulations on your son’s wall being featured in Better Homes & Gardens! Both the room and you looked great!
Wow, great job. Been looking for a tray myself but have been totally uninspired but now…. now I’m going to have to add this to my to do list! Very inspiring!
Love! I’m glad to see I’m not the only one with their iphone as a cheat sheet.
I just love all your projects – especially this one! It turned out great! I support the idea of trays as “junk holders” – it just seems to make everything look so much more polished and organized. Excellent job with the detail. I think I may have found a weekend project…
Thanks for advice. I liked this article very much!