I installed this corkboard wall in a matter of hours, so I happily pass on the tutorial to you! The hardest part was just worrying about whether or not it would stick on the wall (spoiler alert-it did!). So let’s take a look at where it all began.
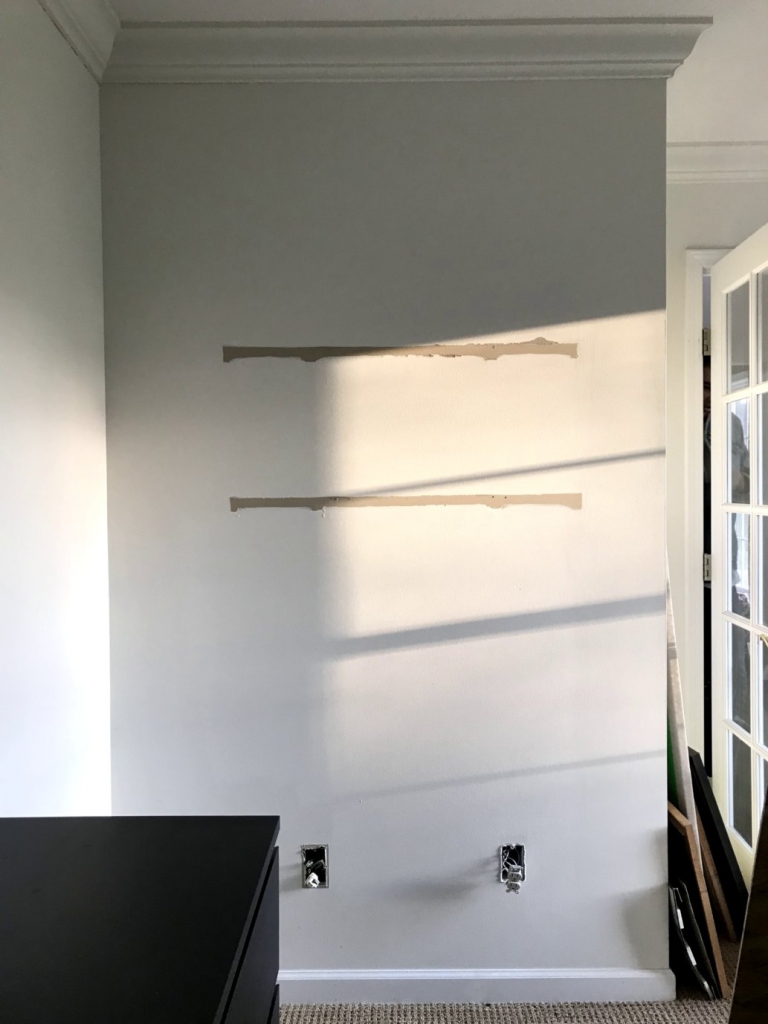
I’ve had shelves on this wall for years, but they were no longer functional for me. I loooooves me some travel, so I wanted to expand the many treasures I’ve been collecting over the years. So…the corkboard moved on in.
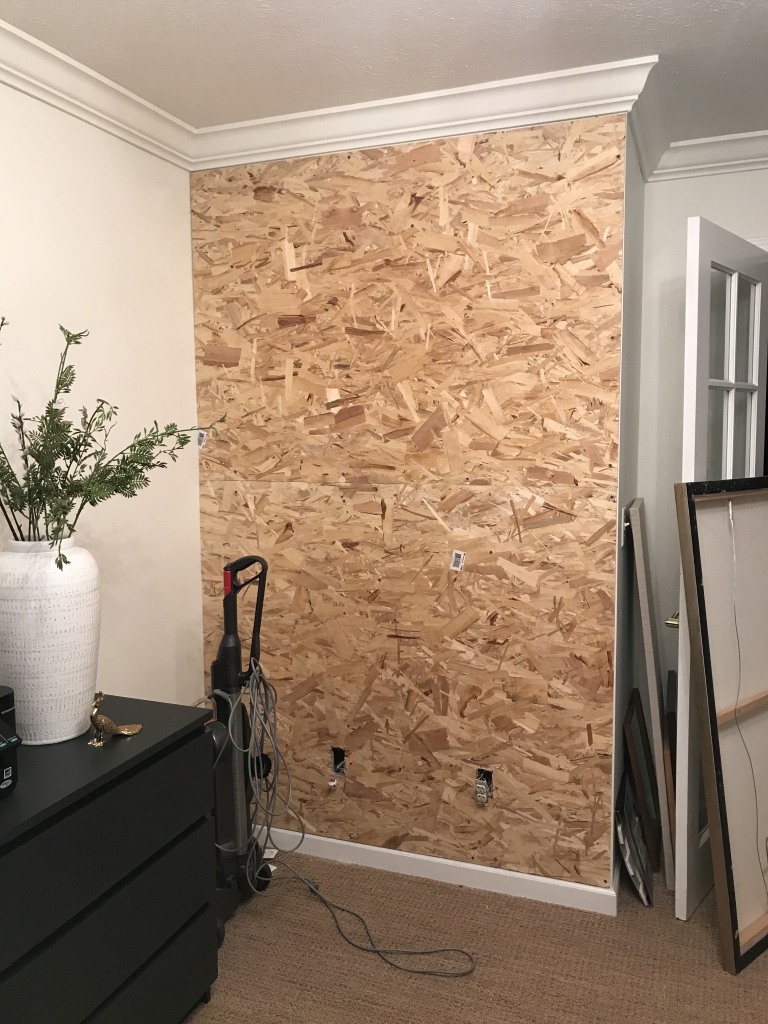
Because you have to use such a strong adhesive for the cork roll, I really didn’t want to adhere directly to the wall. We purchased some inexpensive plywood, cut it to the size of the wall, and installed it with some screws. Don’t forget to cut openings for any outlets you may have on a wall too!
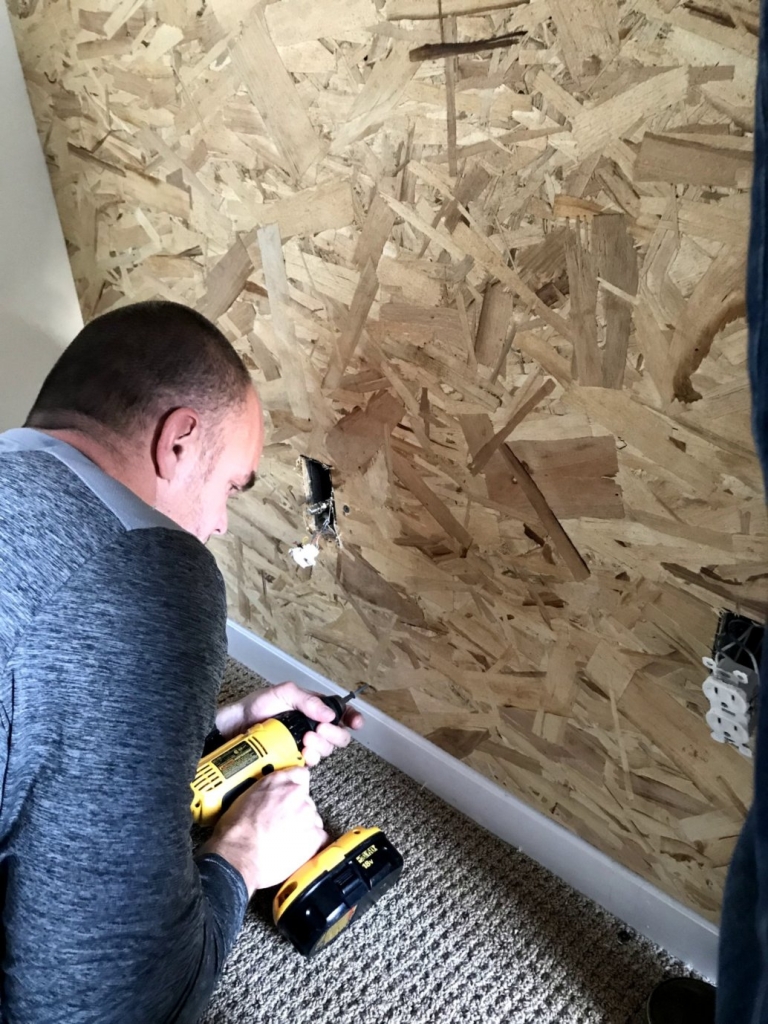
This is where husband exits, and I enter stage right. The corkboard was my job. It was essentially a one-person job except for the very beginning. I needed another set of hands to help me line it up right, and then I was off to the races. Once you start putting the cork on the roll, there isn’t any room for error. So be sure to start in a corner and follow the wall down.
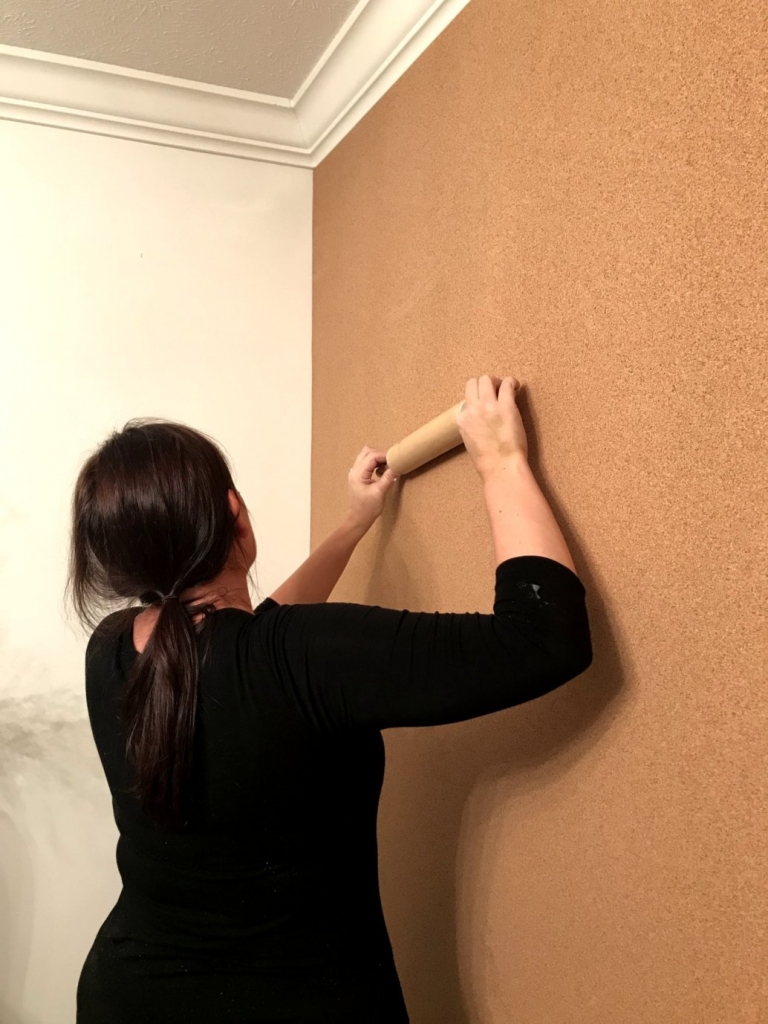
I used a notch trowel to apply the adhesive onto the wall and then smoothed the cork over it with a rolling pin. I was so nervous about bubbles, but the adhesive is a rockstar! No bubbles.
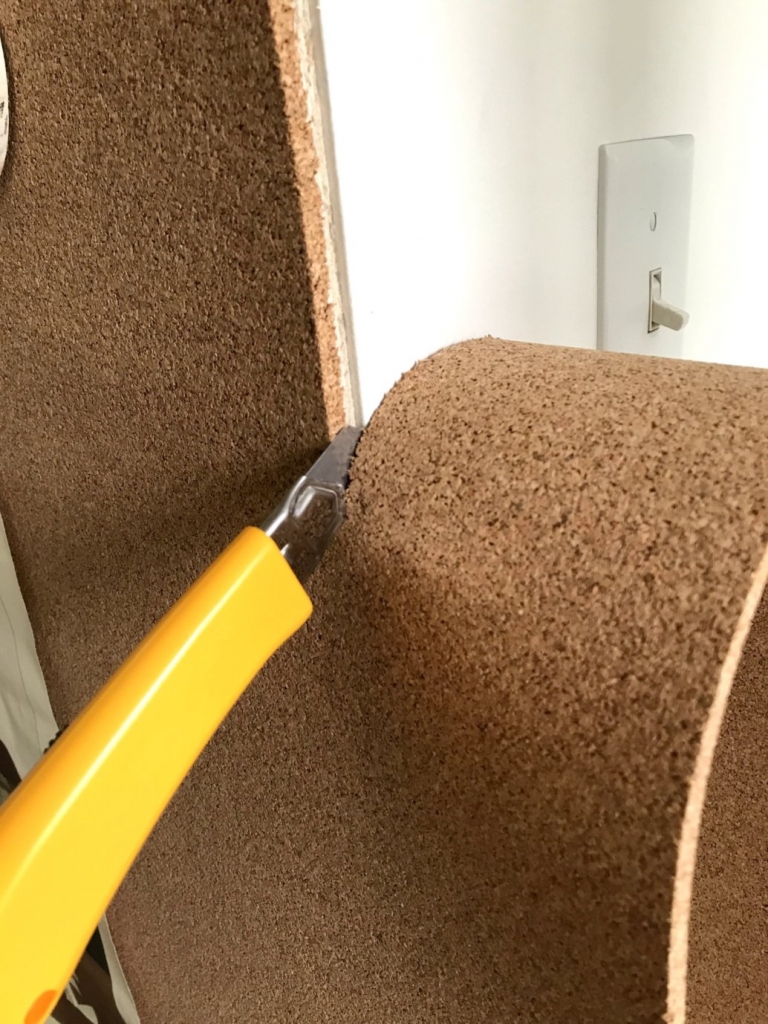
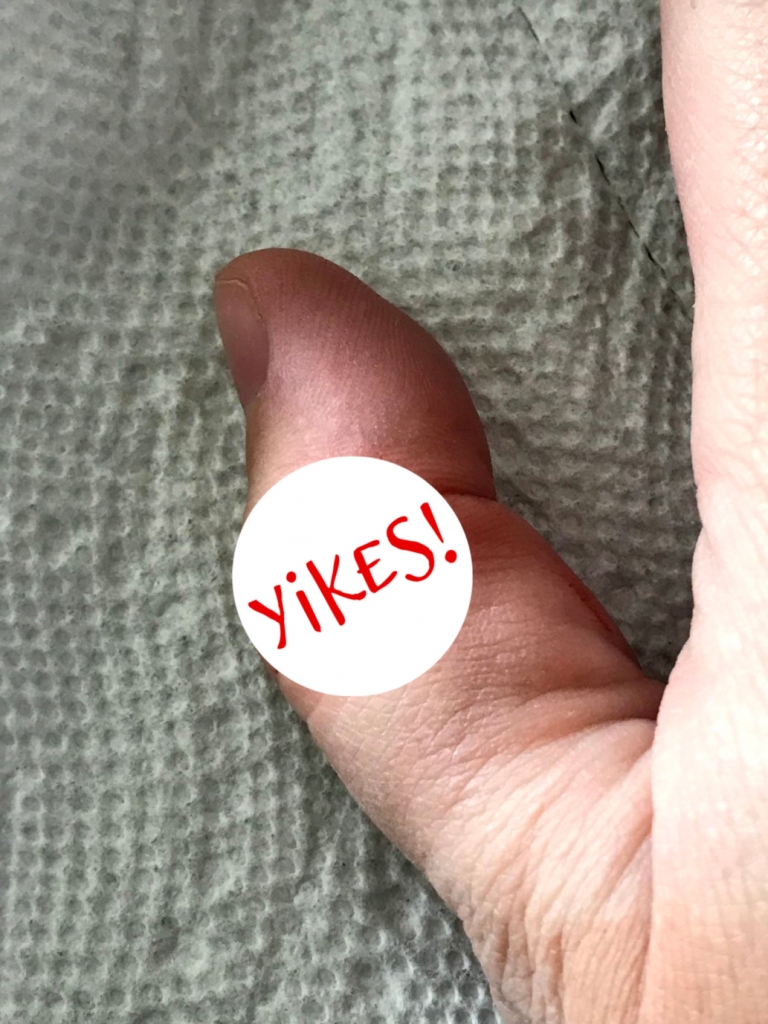
When it came to the edge of the wall, I used a sharp utility knife to just follow down the edge of the wall. It was so sharp, in fact, that it went right through the cork and through my thumb. Nothing a quick trip to the emergency clinic couldn’t take care of!
To finish it all off, I painted a corner piece of trim to match the wall and just used a small bead of wood glue to adhere it. Because the cork is thin enough, I just butted it up to my crown molding and my baseboards. No one would ever know that it isn’t trimmed out on the top and bottom edges, so it saved me a bunch of time!

Ok. You ready for your supply list? It’s short and clear-cut-but also imperative that you use the right materials.
Corkboard supply list
- Cork. I looked all over for the right roll. You could use soooo many variations of this, but I didn’t want ANY seams. Because of that, I spent more money. I found cork rolls at Bangor Cork. They were the best price, and they had so many options! I purchased a roll and had it cut to 8 feet-the height of my ceilings. Seriously-it was worth the extra money because it looks so streamlined!
- Notch trowel. It doesn’t have to be anything specific–just something that has teeth to spread the adhesive on the wall and give the cork something to stick to.
- Flooring Adhesive. This was the star of the show. It was forgiving enough that I had a moment to adjust, but once it started to set, there was no moving it! I was glad for that because, as I said before, I was so worried this was going to turn out horribly. Yay for not failing! 😉
- Utility Knife. If you’re looking to cut your thumb off, might I suggest this utility knife? I kid-sort of-but this knife is super sharp. It did what I wanted it to do!
- Rolling Pin. Another star was my old rolling pin. It made it so much easier to smooth out the cork.
Well after all those cruddy iPhone photos, here’s a better one to remind you of the finished corkboard wall.
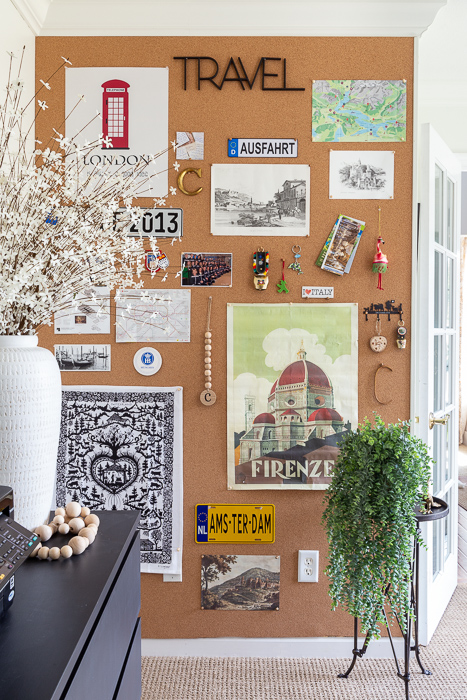
I really love it, and I hope the directions were clear enough! If you want to see more of the finished corkboard wall, go here!

Latest posts by Chris (see all)
- Tartan Plaid Bedroom - December 1, 2021
- Favorite Things 2021! - November 24, 2021
- Our Christmas Wishmas Tree - January 3, 2021


